Student groups
If your online school has gathered a large number of students and new ones are regularly being added, you can organize them into groups. For this purpose, the Softbook platform provides a special feature called “Student Groups.”
It facilitates work with students in two main ways: sorting and scheduling customization.
So, if you need to create a student group, follow these instructions:
1. Go to the “Training” section and click on “Student Groups.” This will open the student group editor.
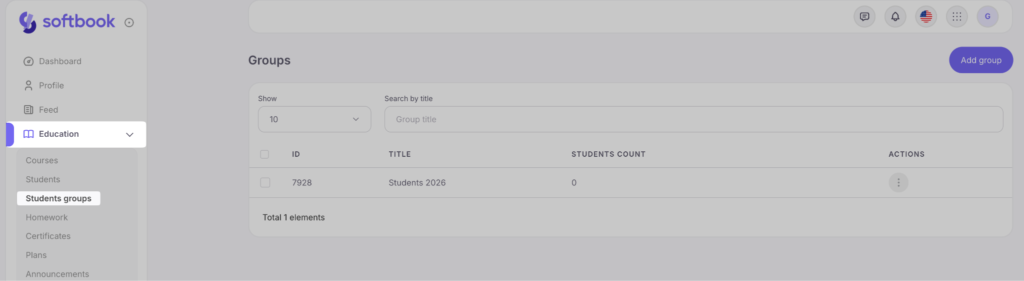
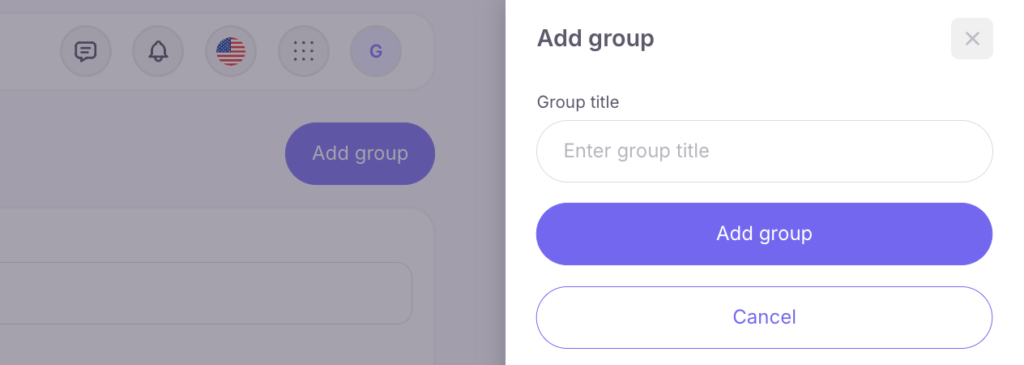
2. Click on the “Add Group” button, located in the top right corner of the editor.
In the opened field, enter the name or number of the group – anything that will help you sort the students based on the criteria you have chosen.
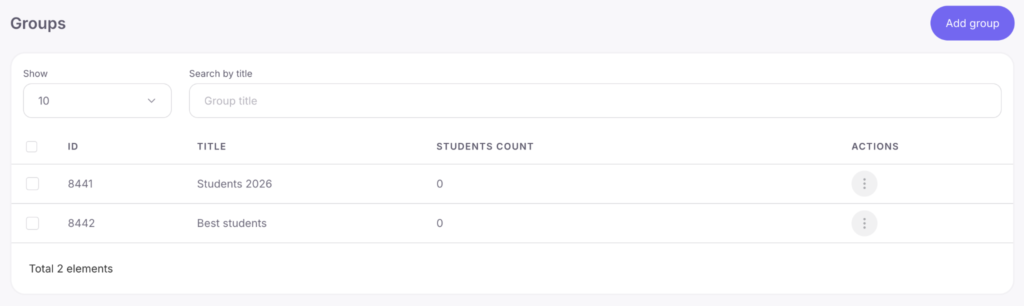
Groups can be created to sort students by enrollment date, activity, course name, or any other parameters you have in your CRM and want to use. Currently, there are no students in your groups.
3. There are multiple ways to add students to groups:
- Download a file with student lists (a).
- Manually add students (b).
- Sort and add students who are already in your online school in the “Students” section.
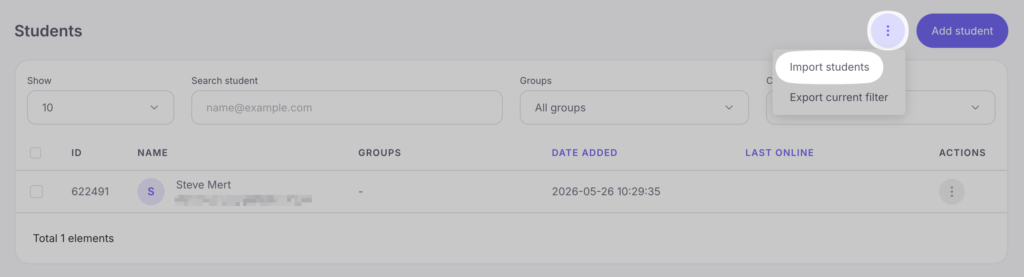
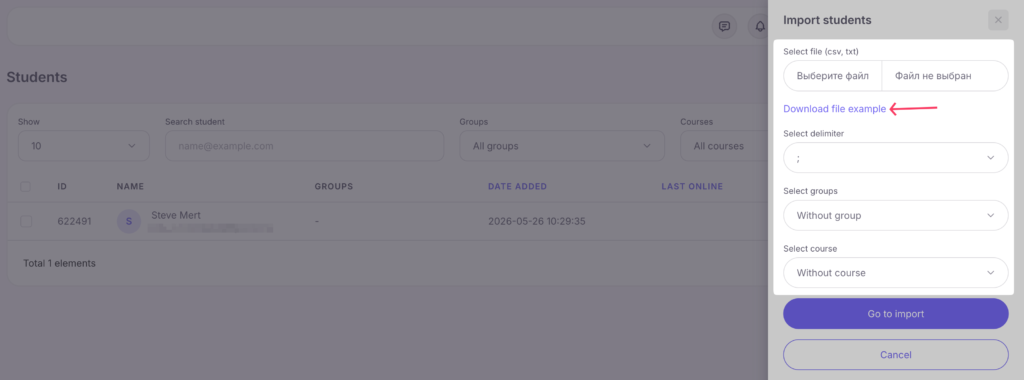
а) To upload a file with student lists, go to the “Students” section, find and click on the button with three dots in the top right corner, and select the option “Import Students”.
Select a CSV or TXT file with the list of students on your computer and upload it to the platform. Below, choose the group and course where you want to add students from the file. Click the “Next” button to proceed.
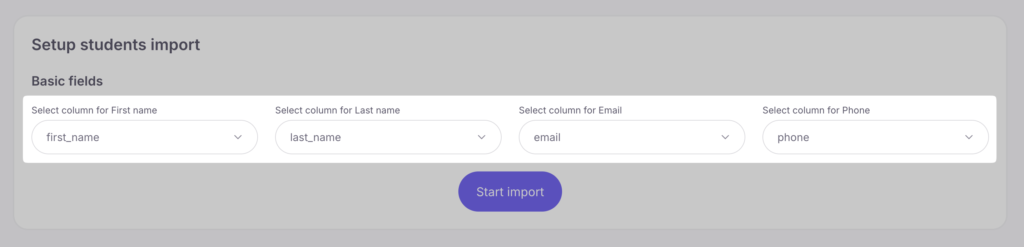
In the opened section, set the parameters for loading by which the data will be displayed: name, surname, email, and phone number. Once you have sorted the data for the system, click on “Start Import”.
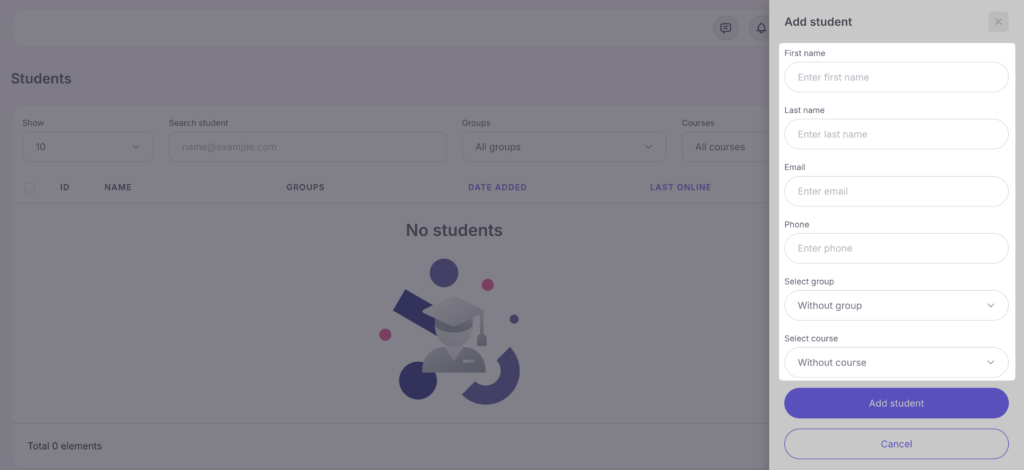
b) To add a student manually, click on the “Add Student” button located in the top right corner. Fill in all the fields with the student’s information, select the group and course if they are already known. Click the “Add Student” button when everything is ready.
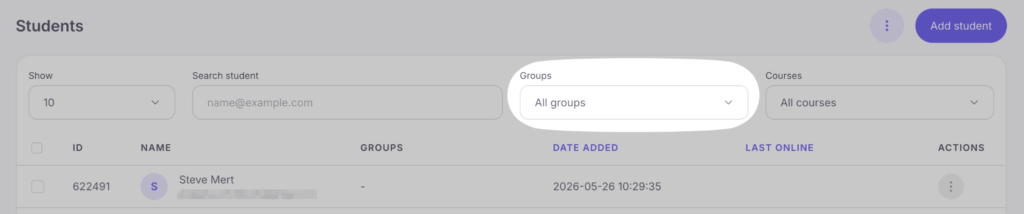
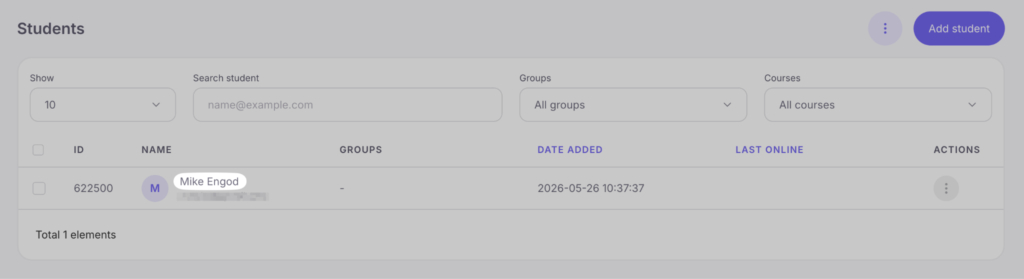
c) To sort students, use the function called “Students” located in the menu. In the drop-down list, there are options for displaying the sorted list: by the groups you created, students without a group, and all students.
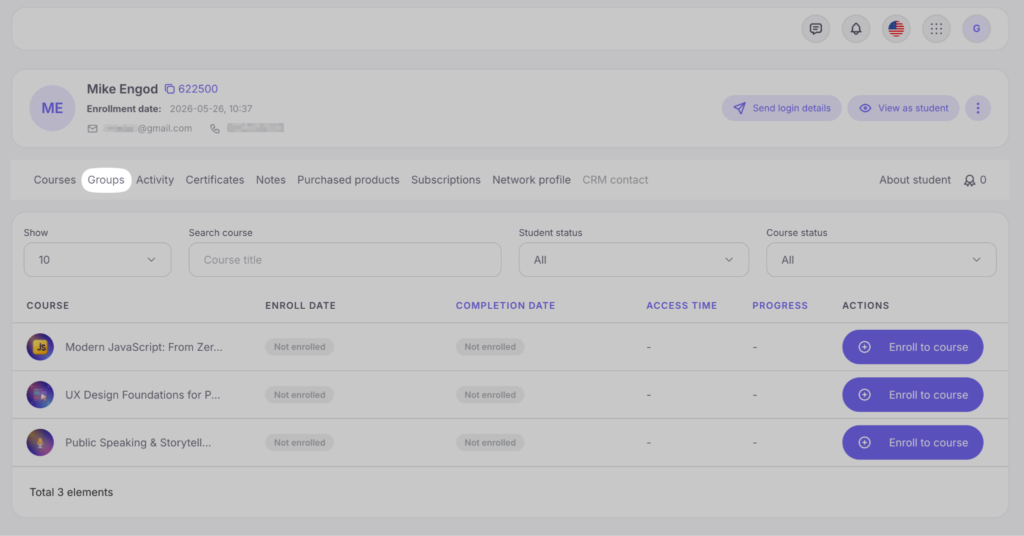
4. To add a student to a specific group, click on their name in the list and access their profile.
You can add a student to a group regardless of whether they are enrolled in a course or not. Then click on the “Groups” field and add them to the desired group.
Bulk Actions for Groups
To quickly manage an entire student group, go to the groups list and find the required group. In the actions column, click the three-dot icon.
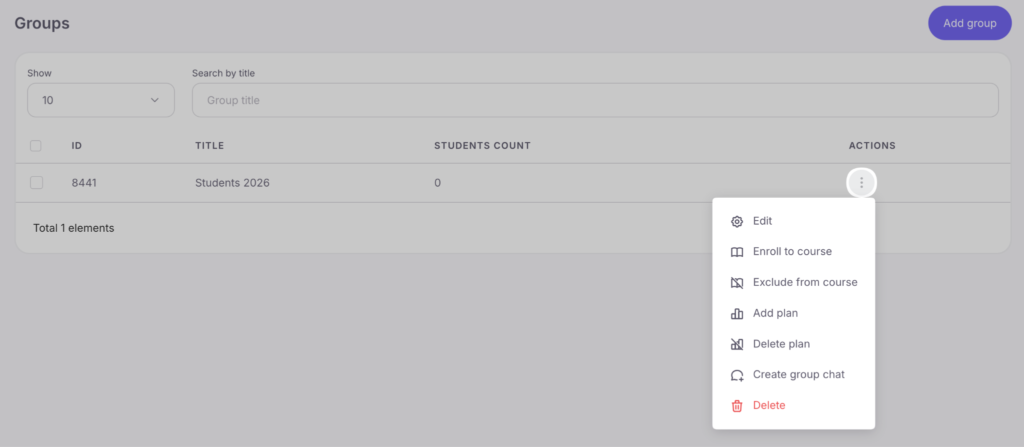
A menu with the following options will appear:
- Edit — change the group name.
- Enroll to Course — opens a sidebar with a list of available courses. Select the required course and confirm your choice to enroll the entire group of students in one click.
- Exclude from Course — allows you to bulk remove students in this group from the selected course.
- Add Plan — allows you to apply the selected pricing plan to the entire student group at once.
- Delete Plan — removes the pricing plan previously assigned to the group.
- Create Group Chat — the system will automatically create a new chat in the platform’s Messenger and instantly add all students from the selected group.
- Delete — deletes the group (the students themselves remain on the platform).


