SendPulse integration
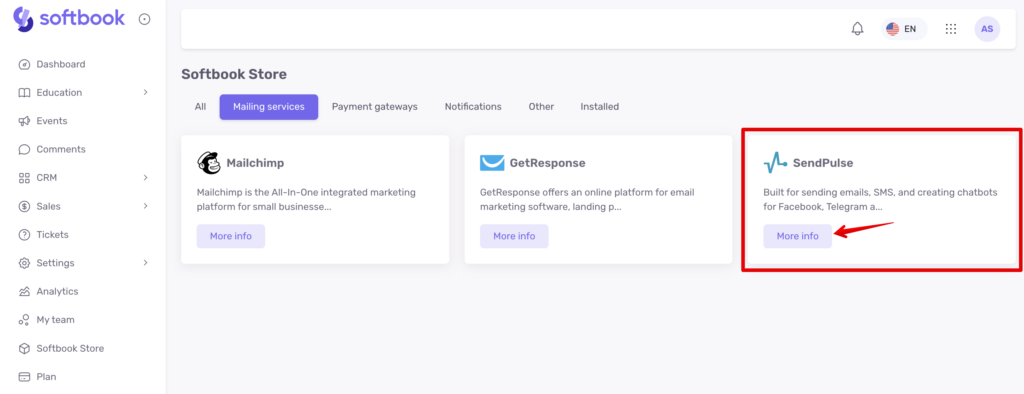
So, you have decided to integrate SendPulse email service. To do this, click on the “More information” button on the card with the name of the service.

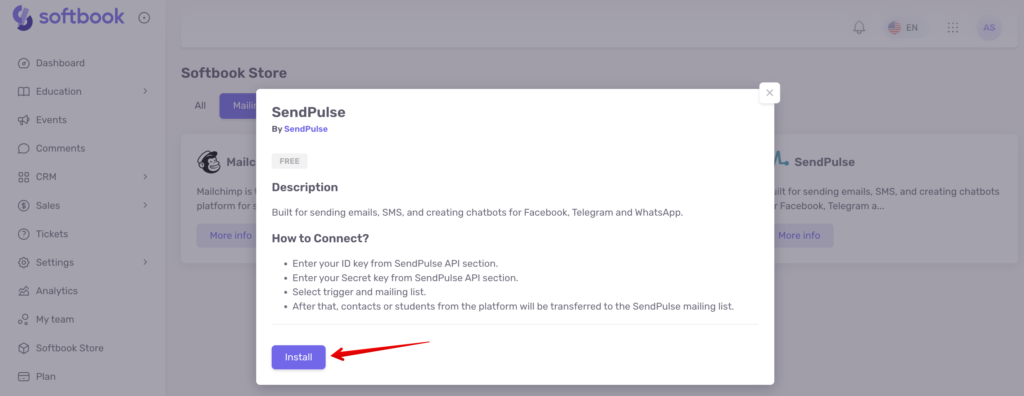
This will open a card with a description and instructions on how to connect. Copy this list to yourself for further work and click on “Install” and “Yes, install” in the box that appears. After that, the page for setting up the service will open.

The SendPulse email service asks you to follow the setup instructions:
- Enter your identification key from the SendPulse API section.
- Enter your secret key from the SendPulse API section.
- Select your trigger and mailing list.
The contacts or students from the platform will then be transferred to the mailing list.
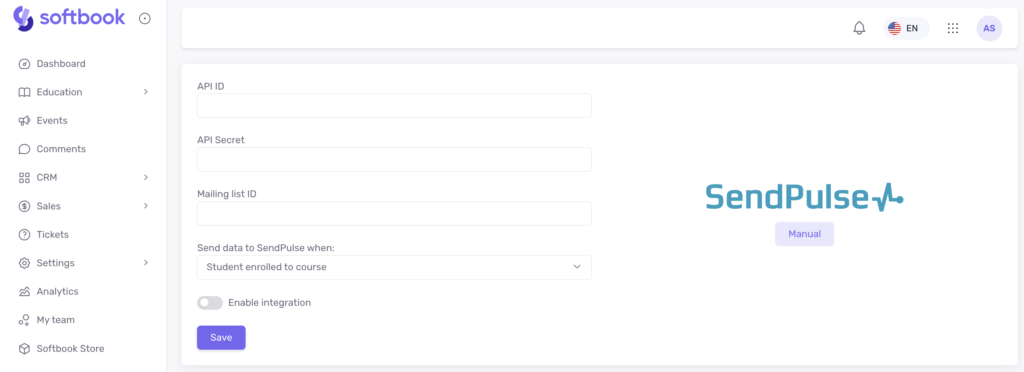
On the setup page, a field with several items to fill in will appear in front of you: ID, Secret, address book ID, and trigger.

All data should be taken from the SendPulse website. Log in to your account on the SendPulse website and go to the “Account Settings” section.

Go to API. The required ID and Secret items will open in front of you. Copy the data from the ID and Secret fields and paste them into the corresponding fields on the Softbook LMS.

The address book ID can be found in the same account on the SendPulse website.

Go to the “Mailing Lists” section, find your address book there (create one if you don’t have one), go to it, and then copy the digits that are contained in the link in the browser’s address bar after the letter id.

Next, on the SendPulse side, you’ll have a database of students to work with – sending emails, setting up funnels, and more.
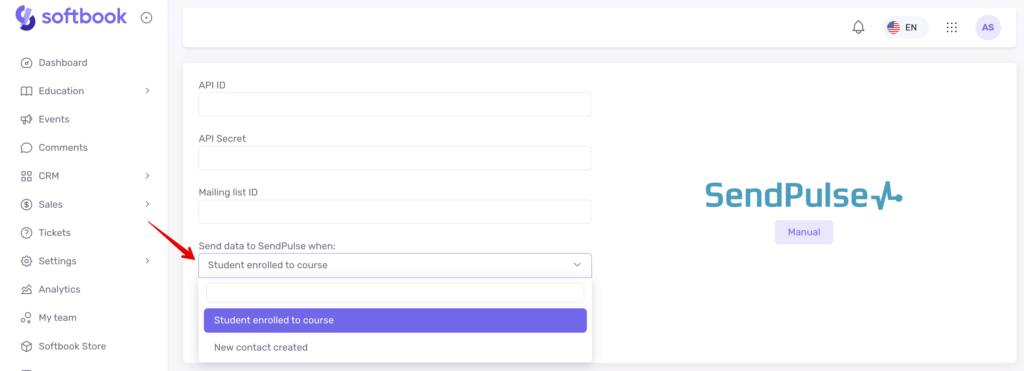
Choose a trigger – that is, when exactly the data will be sent to SendPulse: when a student is enrolled in a course, or when a new contact is created.

When you’ve filled everything out, click save.
Done, you’ve integrated SendPulse email service into your online school. In the same way, you can customize other mailing services available in Softbook Store.


