Plans
If you want to sell courses in your school at different pricing plans to attract more students but don’t want to spend a lot of time developing them, you will need the “Plans” subsection.
Before creating Plans, make sure your school has a course fully loaded with content. Then proceed to develop the Plans:
1. Go to the “Education” section and find the “Plans” subsection. You will see a field with an empty list of Plans.
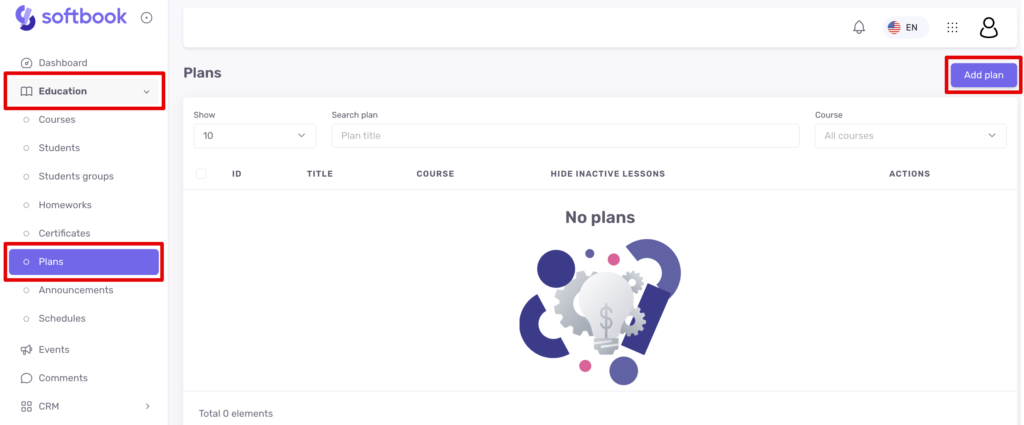
2. Click on the button in the upper right corner of the screen “Add Plan“. A side panel with two fields will open:
- pricing plan name
- course selection
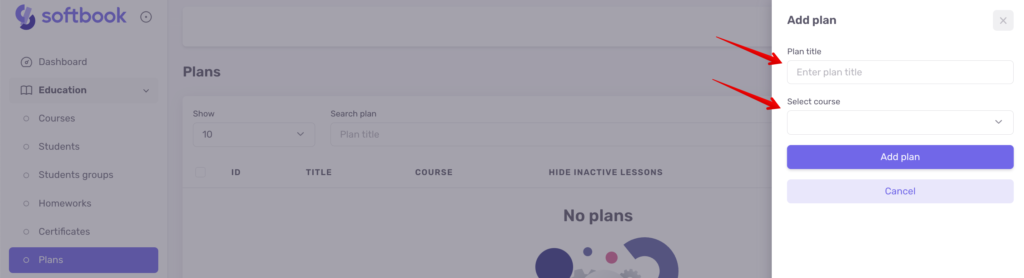
3. Enter a name for your pricing plan and select the course with the maximum content for which it is intended. Then click the “Add plan” button.
4. A page for editing the pricing plan with the following parameters will open:
- plan name
- course plan – contains a list of all lessons included in the course, a list of homework and tests for them, as well as access activation points.
- “Hide lessons that are not included in the plan” option. If you activate this option, your pricing plan will give access to the lessons included in it, and other lessons of the course will become invisible to the student. If you do not activate this option, the student will be able to see all the lessons included in the course but will not be able to access them.
- “Allow certificate in plan” option. If you activate this option, students studying under the pricing plan will be able to receive a certificate after completing the lessons included in the plan.
- “Access to the course from the moment of registration” option. Here, indicate the period of access to the course that the student should have after enrolling in the course and this plan.
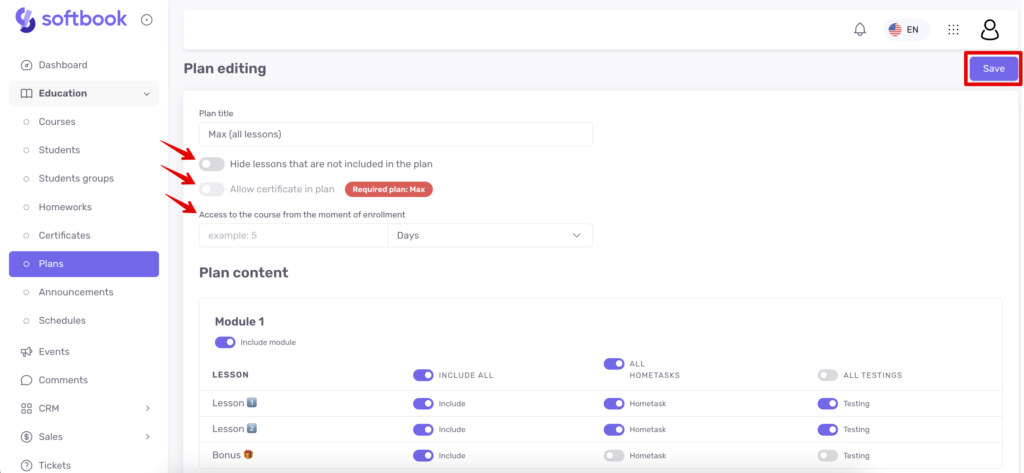
When all settings are ready, click the “Save” button.
How to Manage Plans and Students
There are 3 ways to manage Plans and student access to them:
1. Through the “Education” section – “Students”.
In the “Students” subsection, you will see a list of all students. Next to the names of those who are enrolled, there is an icon in the “Actions” section in the form of a diagram.

Click on it, and a side panel with a list of available Plans for the course will open. Choose the desired one or set the “No pricing plan” option and click the “Save plan” button.

Done, your student is assigned to the pricing plan.
2. Assigning a plan to a specific group of students. To do this, in the “ Education ‘ section, go to the ’ Students groups ‘ subsection. In the line of the required group, click on the diagram icon.
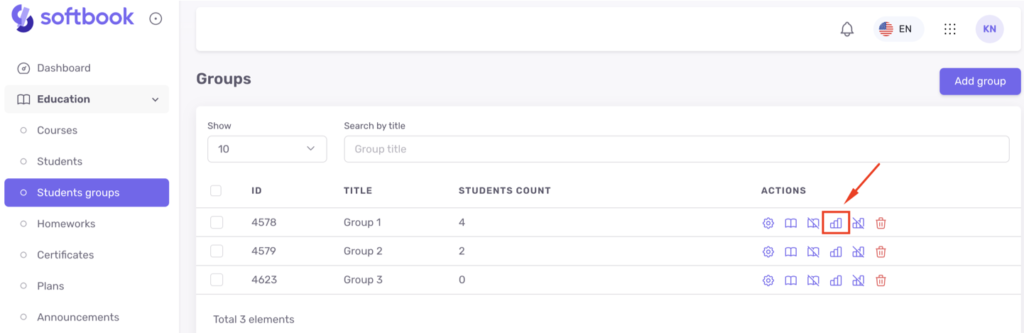
A sidebar will open with a list of available courses and their plans. Select the ones you need and click the “Add plan” button.
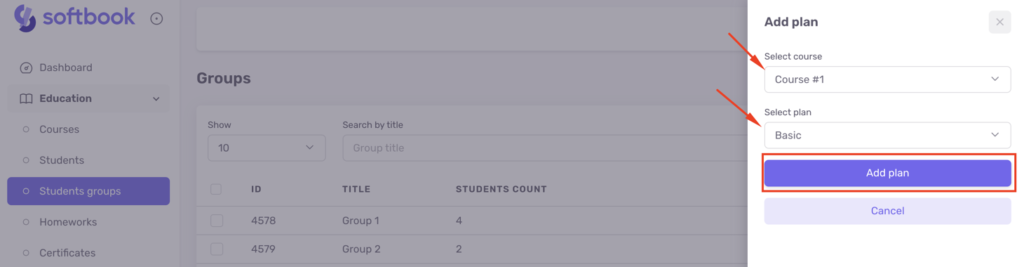
Done, this group was assigned a plan.
3. Automatic enrollment of a student in a pricing plan after payment.
To do this, go to the “Sales” section and open the “Products” subsection. Go to the product settings section. In the “Product Type” section, select the desired course, and in the field below, select the desired pricing plan. Set which course and pricing plan the student should be enrolled in after payment.
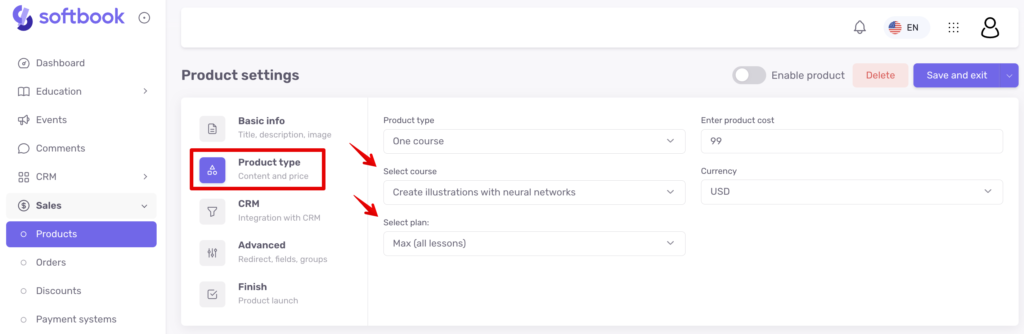
Save the settings and take advantage of automation.
Done! Now you know how to create and use Plans in your school to the fullest.


