Setting up a course
1. Log into your account on the platform and find the “Education” section in the navigator on the left. In the list that opens, click on “Courses.” A workspace will open up for you. Find the “Create a course” button.
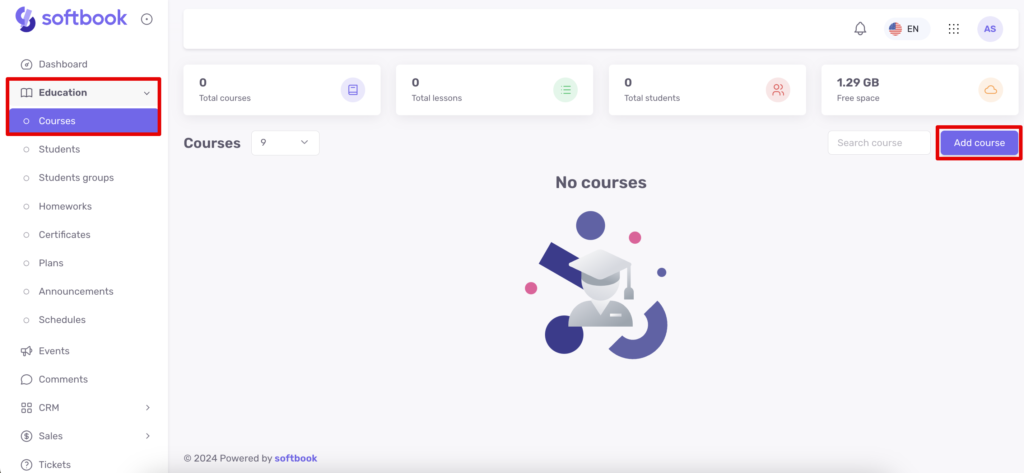
Softbook LMS space before the creation of the first course
2. Click on the “Create course” button to move on. A course editing panel will open, consisting of five subsections:
- General
- Teachers and Access
- Course Options
- Sales
- Free Access
- Public link
By default, the course name field will be labeled “New Course”. Type the course name and description in the appropriate fields.
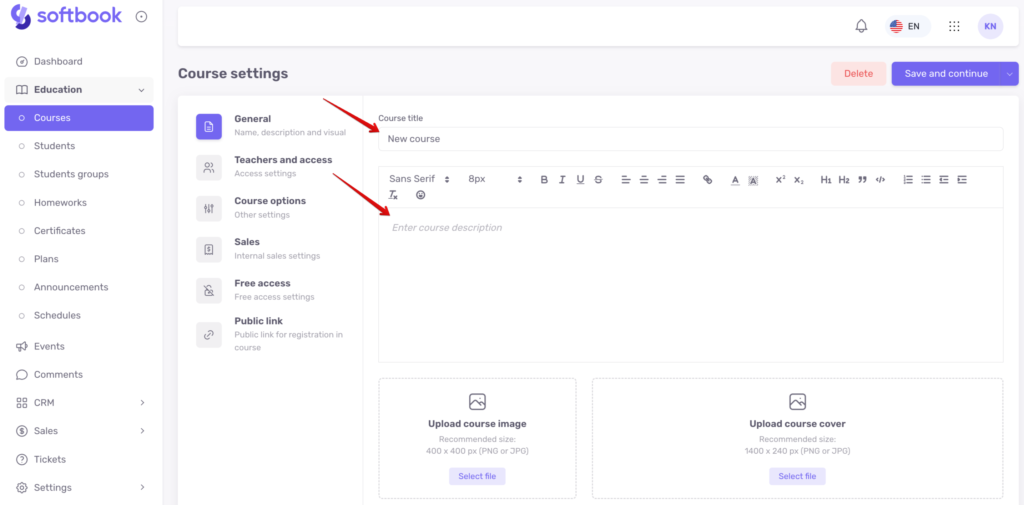
Fields to fill in and customize the course: title and brief information
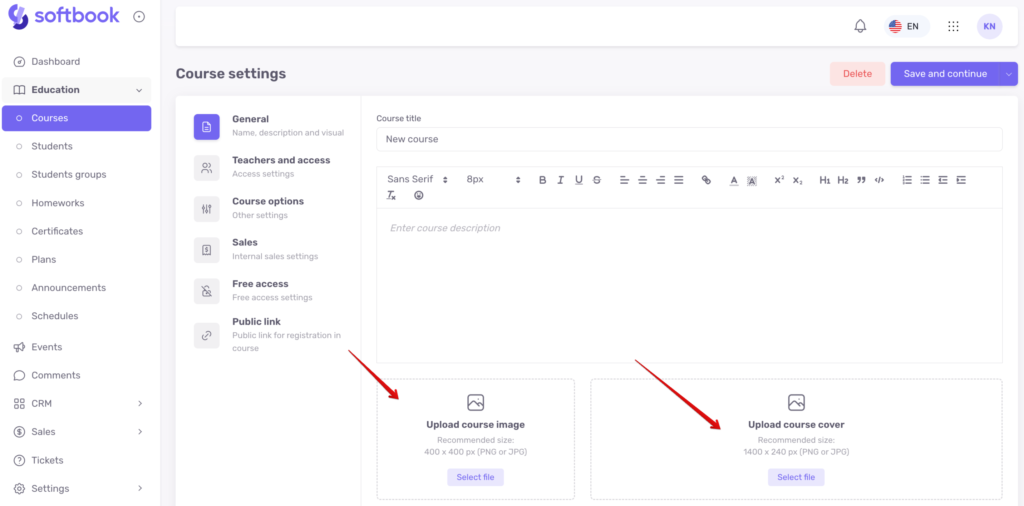
Button for adding an illustration to the course
Click on the “Select File” button and upload a course image and cover. The course image will be visible in the course list, and the cover on the course page.
3. Next, go to the “Teachers and access” subsection. Select the course teacher from the drop-down list in the appropriate field. New users usually don’t have a team, so the school owner is set by default.
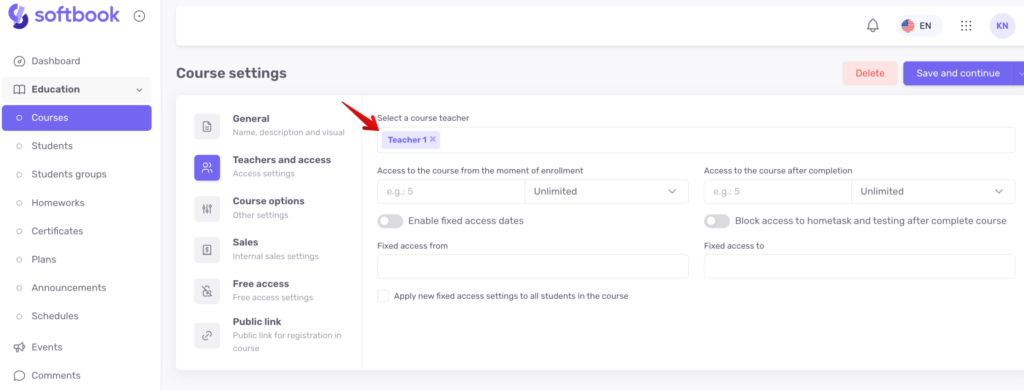
Fields for filling and setting up the course: course teacher
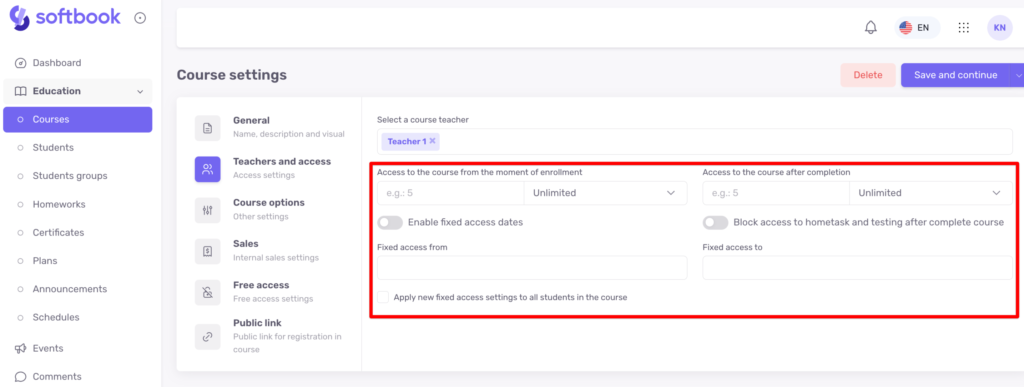
4. Set the student access period to the course in the same subsection. The platform offers the following options:
- access to the course from the moment of enrollment – you can enter the required number of days and months or select “unlimited”. This is the period during which your student will be able to take the course and use the materials.
- access to the course after completion – you can enter the number of days/months, or enter the number of days/months if your school allows students to access the course after graduation.
- enable fixed access dates. Useful when you are planning launches that provide access to course materials within certain dates for all students.
- block access to hometask and testing after complete course – a function that leaves students access to the content of the completed course but deprives them of the opportunity to take tests and work on homework.
5. Move on to other course settings in the Course Options subsection. There are three kinds of options here: access settings, privacy settings, and other settings. Turn them on as needed:
- Manual lesson access control – when this parameter is activated, access to lessons must be opened manually for each student. It works only if the next parameter is activated.
- Enforce lesson progression order – a setting that closes access to all lessons except the first one. The student must sequentially complete all lessons, homework, and tests if they are present. Only after this the access to the next lesson will be opened. If the option is inactive – the student can take any course lesson at any time without following the sequence..
- Show teacher in course info – the teacher’s name and surname will be visible in the course description.
- Show the course if the student does not have access – this option makes the course card visible to students who do not have access to it.
- The course is visible only to those teachers who are assigned to it – the option makes only selected courses visible on the online school platform, which are set in the settings and linked to his name.
- Auto-numbering of lessons – numbered display of the lesson list.
- Enable comments in lessons and Enable comments moderation in lessons – settings that allow students and teachers to communicate in comments to lessons and control their content. Comments appear as widgets at the bottom of the screen.
- Enable feedback in lessons and Enable course feedback – allows you to collect feedback from students on individual lessons and the course as a whole. You can customize the feedback collection template in the “ Education” section, subsection “Feedback”. Learn more in the Feedback article. If you want to make feedback mandatory, activate the corresponding settings – Require feedback in lessons, Require feedback to complete the course. In this case, the student will not be able to proceed to the next lesson or complete the course until he/she leaves feedback.
- It is also possible to customize the language of system emails that will be sent to students about enrollment into this course.

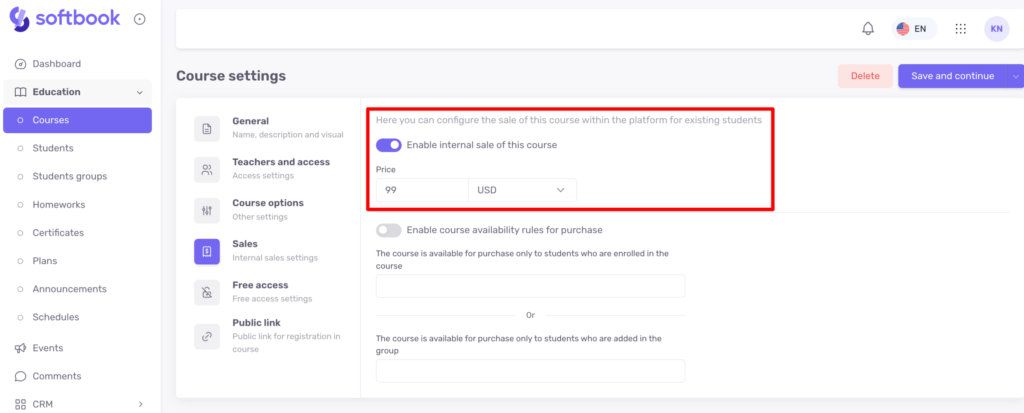
6. In the “Sales” subsection, you can set up internal sales. Thanks to this subsection, you can configure your course so that students can purchase it without leaving your online school. Sales are carried out through any payment system available on the Softbook platform and integrated into your school.
To understand how to connect them – see the manual on setting up each payment system. For your students to purchase your courses, the necessary payment system must be connected. Activate the first item “Enable internal sale of this course”. Then enter the course price and choose the currency from the dropdown list.
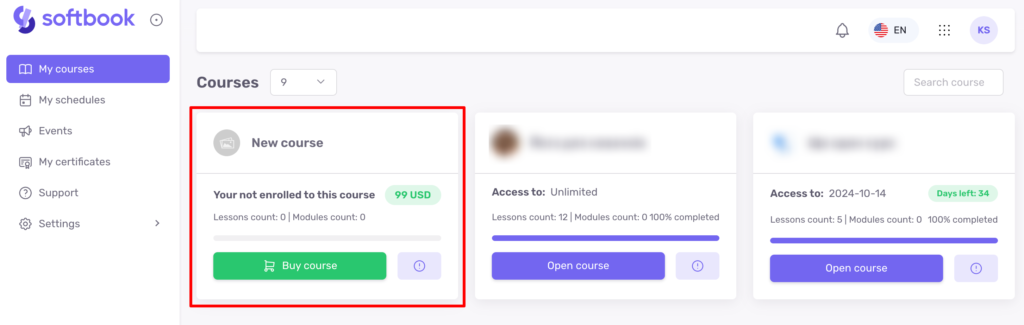
Your students will see this course in their account in the list of their courses, but it will be without access for them, with a price and a “Buy Course” button. Accordingly, they will be able to purchase it directly on the platform. If you integrate several payment systems, students will have a choice of where to pay for the course.
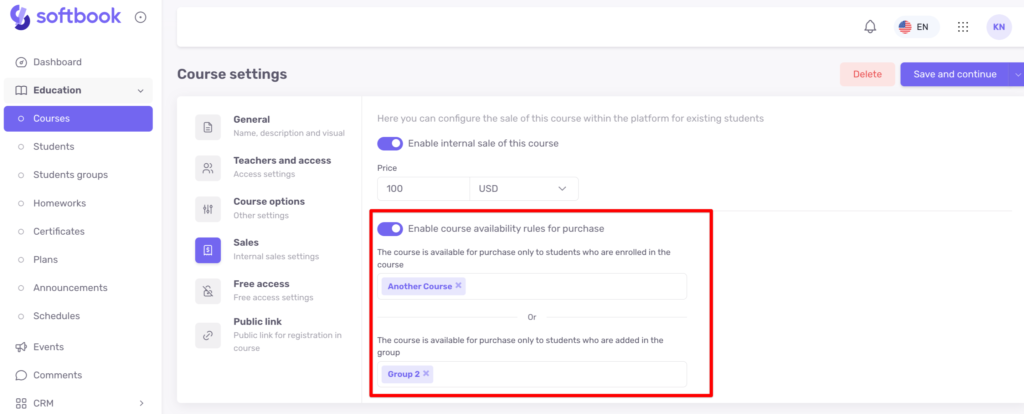
If you want to limit the visibility of this course for students, activate the “Enable course availability rules for purchase” option and choose one of the options:
- The course is available for purchase only to students who are enrolled in the course.
- The course is available for purchase only to students who are added in the group
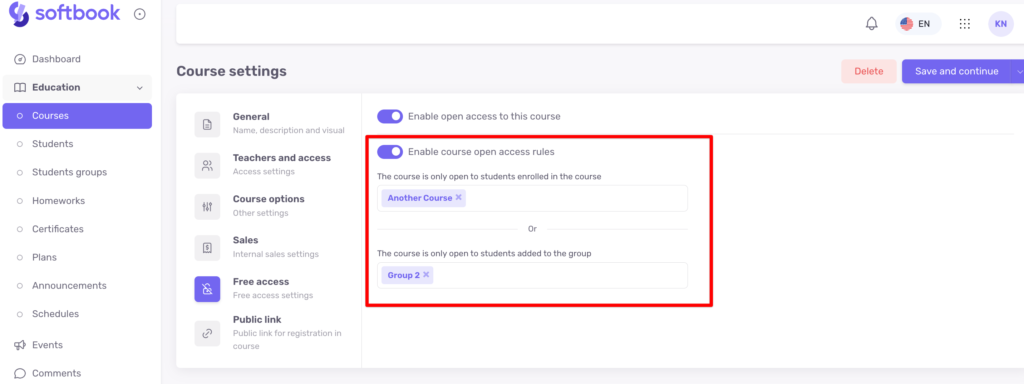
7. In the “Free Access” subsection, you can provide free access to the course for a specific part of your platform’s students. If you want to make the course free for all students – activate the item “Enable free access to this course”.
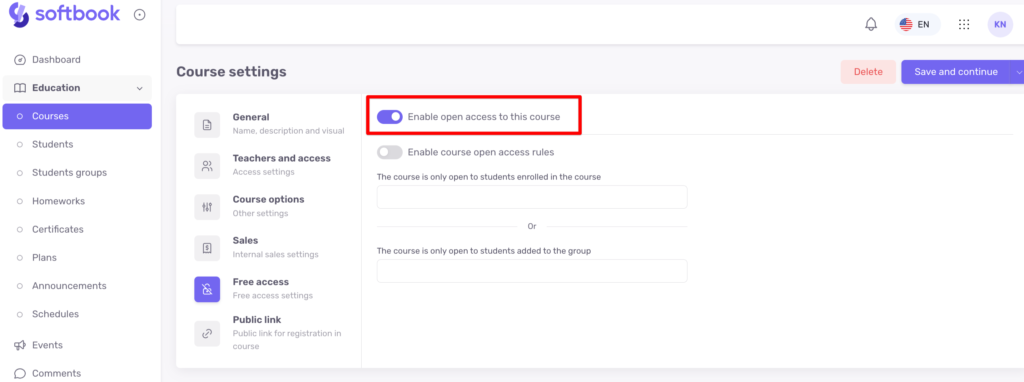
Also, as in the previous sales subsection, here you can set access to this course by certain rules: access for students of a specific course, access for students of a specific group.
8. In the “Public link” subsection, you can activate a unique link to register for this particular course.
This will be useful if you have free or introductory courses. You can place this link on your website, and then students will be able to register for this course directly.
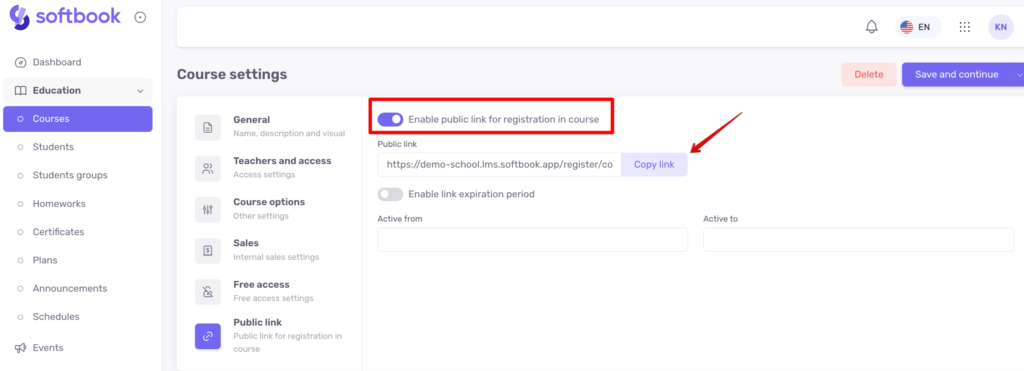
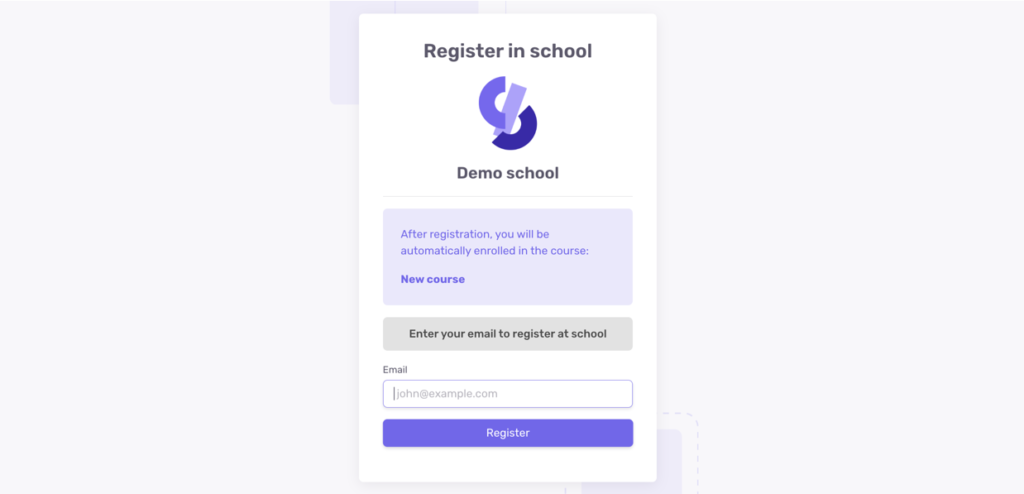
You can also enable the period during which the link will be active. If the date has expired or the current date does not fall within the set period the registration for the course will be unavailable.

9. When the basic settings are ready, click the “Save and Continue” button to start filling the course with content. Also, by clicking on the arrow to the right of this button, you will see additional options:
- “Save” – you will stay on the page where you did it.
- “Save and Exit” – this action will save the changes and take you to the page with all the courses.
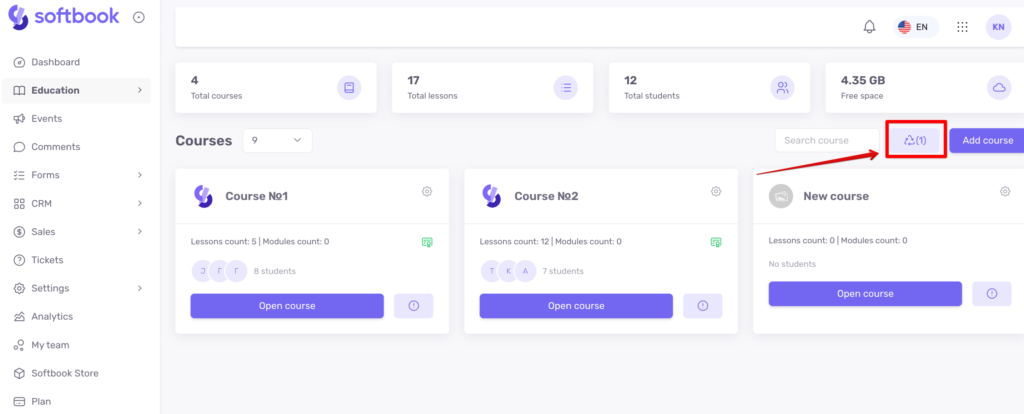
On the courses page, there are cards with all the courses in your school. Each card contains data about the course name, the number of lessons, the number of students, a settings button, and a button with additional information under the “i” sign. It opens a card with additional information about the course: course name, notification about the lesson sequence, list of teachers, course structure.
Clicking on the gear icon will open additional options: edit course (allows you to change course settings), copy course, view course statistics, and delete course.
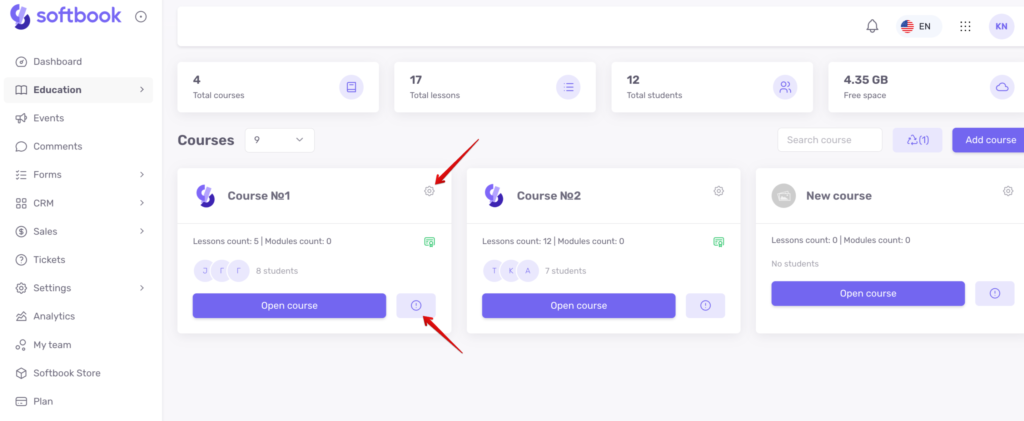
All deleted courses are moved to the recycle bin, from where they can be restored.