Products
In the “Sales” section of your online school, there is a subsection called “Products.” This is where you can assemble your courses and configure them for sale to clients using special links and landing pages. A product can include one or multiple courses or any other type of materials on the platform or beyond.
To turn your course into a product that anyone can purchase, you need to follow a series of steps:
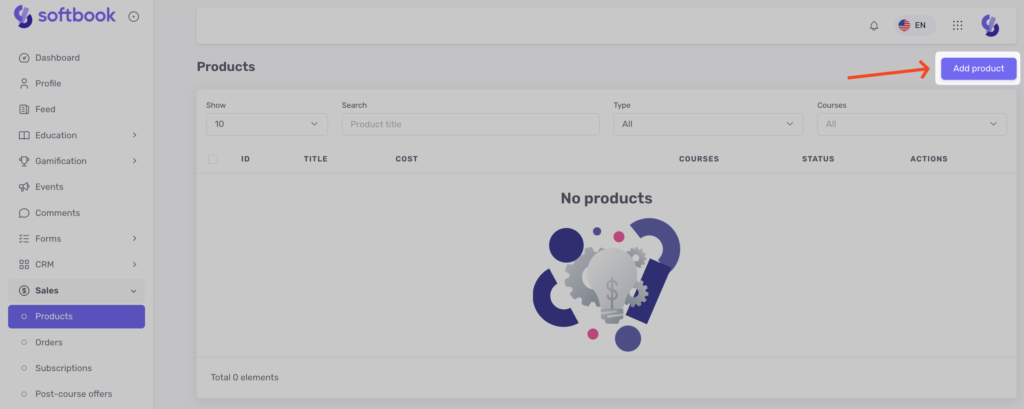
1. Open the “Products” subsection and click on the “Add Product” button located in the upper right corner.
In the side menu, specify the product name and select its type.
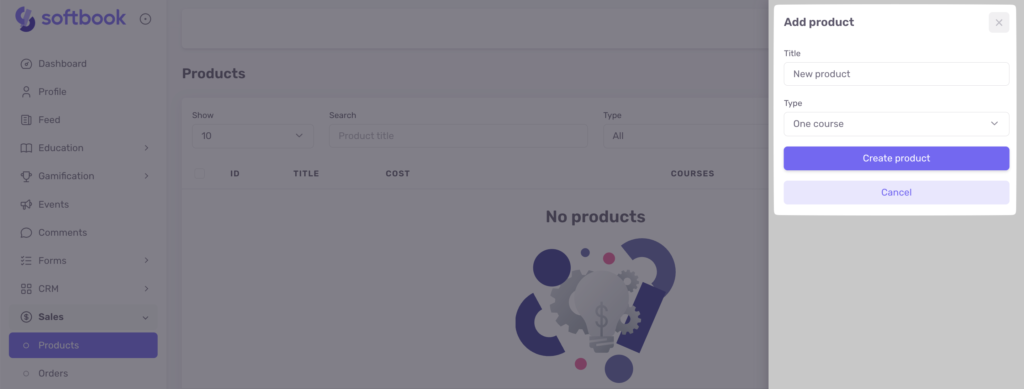
The product type includes the following options:
- One course
- Some courses: for selling a bundle of courses. It consists of several courses that are united by a common theme or offering and sold as a bundle at a set price. If you choose this type, check the boxes next to the courses you want to include in the product.
- Free product: a product that your customers can automatically receive without having to pay anything. The system will not require any payment from them. To obtain it, they simply need to fill out a form. After that, they will be automatically redirected to the platform and the selected course.
- Custom product: If you choose this product type, a field “What the customer will receive” will appear below. Here you need to insert a link to an online meeting or any material that the customer will receive after payment.
- Subscription. This is a format of access to a course or a set of courses for a selected period. After subscribing, a student gets access to all course materials for the duration of the subscription. More about subscriptions here.
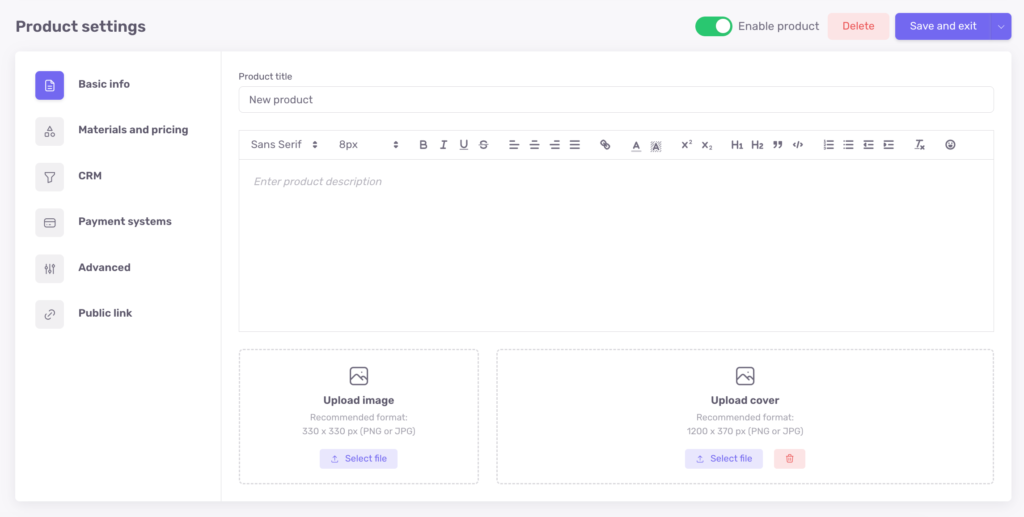
The first step is basic information. Here you can enhance the product name, add its description, and insert an avatar and cover image. Keep in mind that the avatar has a circular shape, and the cover image requirements are specified in the editor. The cover image can be anything: an image, a banner, or text.
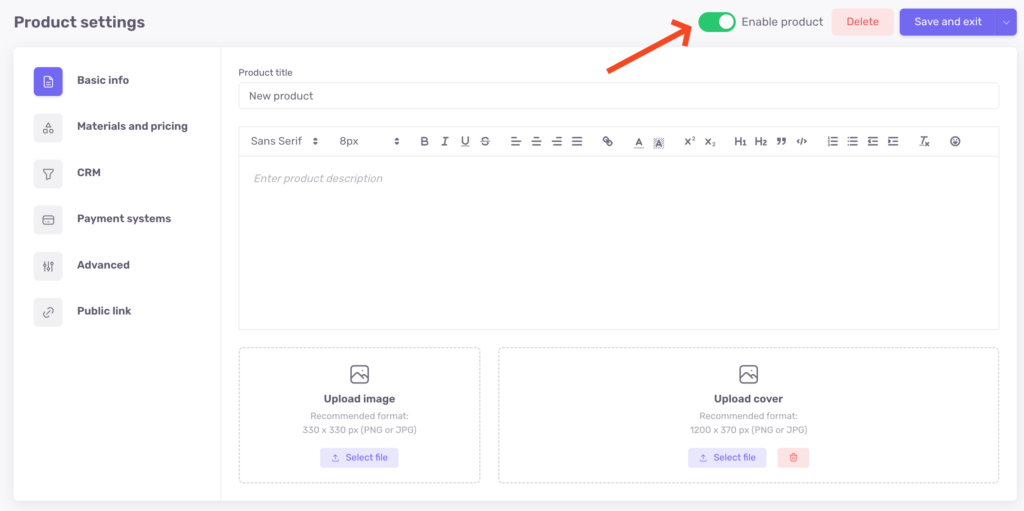
The product enablement option is disabled by default. To activate it, click the “Enable product” button located to the right of the product editor. Click “Save” (this item will open by clicking on the arrow to the right of the “Save and Exit” button) and proceed further.
2. You will be taken to the second stage, “Materials and pricing”. Here you need to set the main product details: course, price, currency.
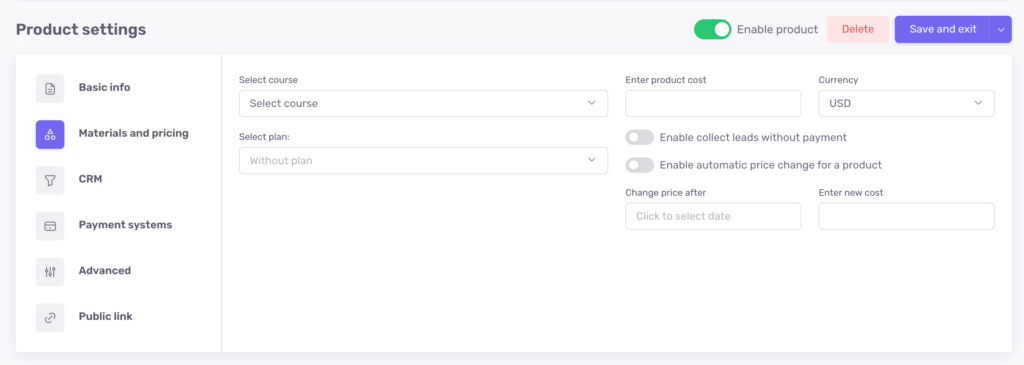
Important: To accept payments, your online school must be integrated with a payment system.
At this stage, you can select a plan, as well as enable lead collection without payment and automatic price changes for the product starting from a specific date.
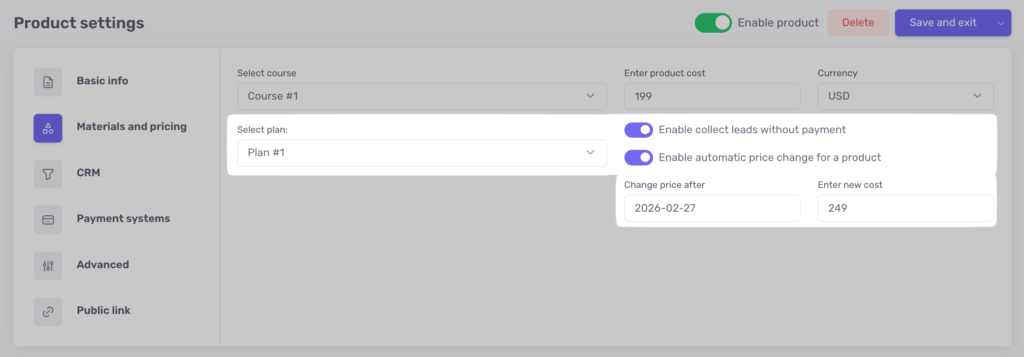
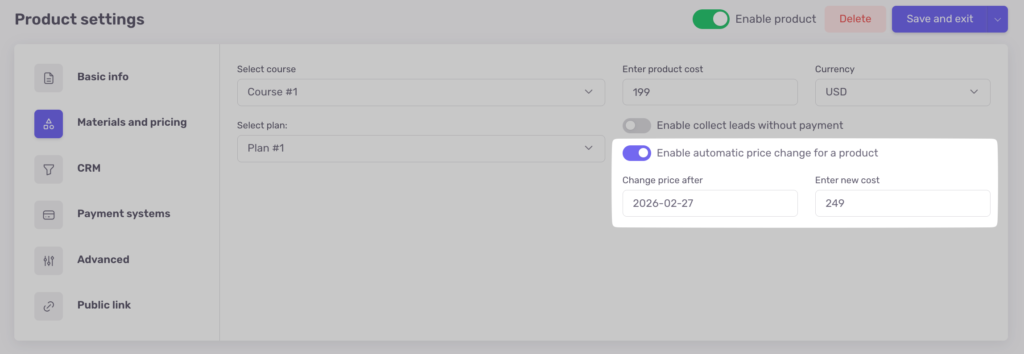
Enable the automatic price change option as shown in the screenshot, set the date from which the new product price should apply, and enter the new price. Thus, when this date comes, the price of the product will automatically change to the one you have specified.
This function works in conjunction with discounts and promo codes: if a discount or promo code is set up for a product and the new price date has come, the new price will be the basis for calculating the discount.
For example, you have a currently valid 50% discount (which you previously set up in the Discounts section) for a product that costs 100. And in the product settings, you set a new price of 300 starting today. The final price with the discount will be 150, not 50, because the new price of the product is no longer 100, but 300.
When you’re done, click Save and move on.
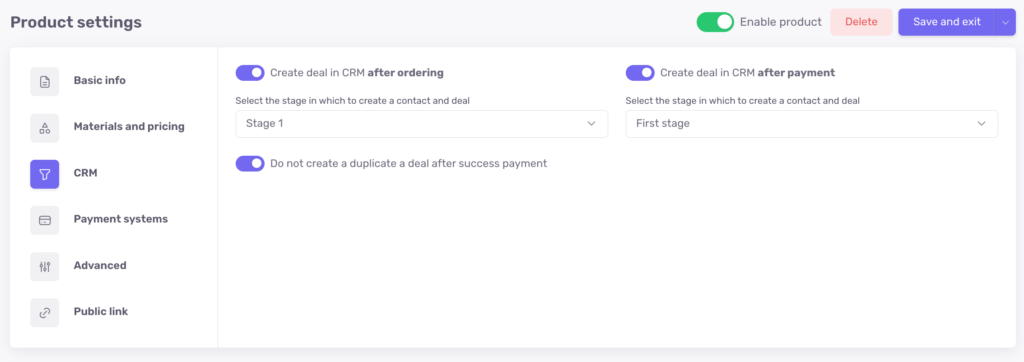
3. The next stage of creating the product is CRM. Here you can configure when the deal should be created and choose her placement in the sales funnel.
There are only two options:
- “Create deal in CRM after the order”
- “Create deal in CRM after the payment”
If you choose “Create deal in CRM after the order”, when your client fills out the form, a deal will be created in the chosen stage of the funnel in CRM.
If you choose “Create deal in CRM after the payment”, the deal will be created in the chosen stage of the funnel in CRM only after the client has made the payment.
Activate and configure one of the selected options or both (but with different funnel stages), click “Save”, and proceed further.
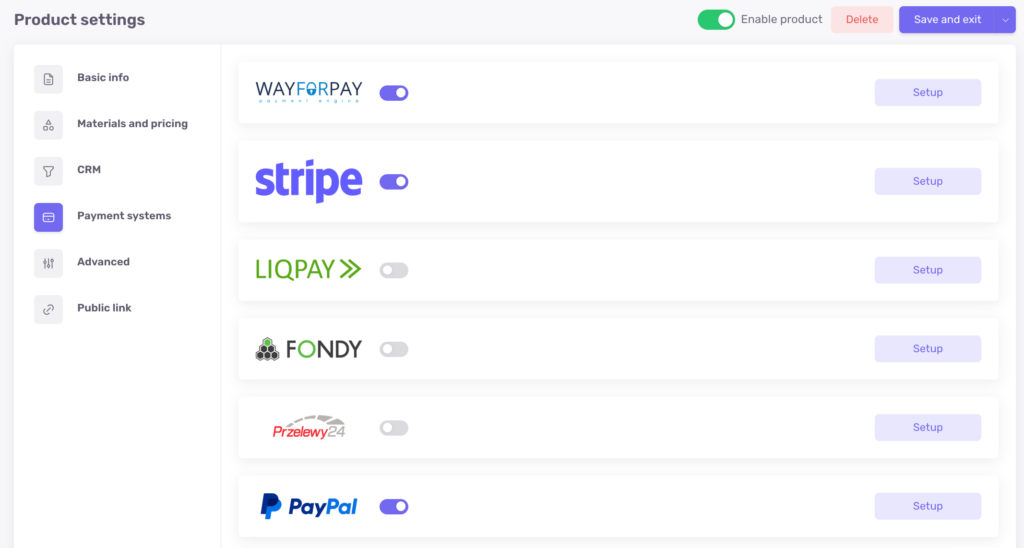
4. The next step is Payment Systems. At this stage, you can activate payment systems and, if needed, access the payment system settings in the Softbook Store.
5. Next Stage – “Advanced Settings”. At this stage, you can add links to pages after successful or failed payment with your own design, or use the standard one. To set up a custom page, you need to prepare, design, and format it in advance, and then insert the link to it in the corresponding field. If you don’t have a custom page, the platform will use its default page.
If you already have student groups created in your school, you will have an active field to enroll the student in a specific group.
It is recommended to assign the new students to a group for two reasons:
- Easier organization: It will be easier to manage and sort new students within your school.
- Schedule compatibility: If you have a class schedule set up for that group, it will automatically apply to all students assigned to that group.
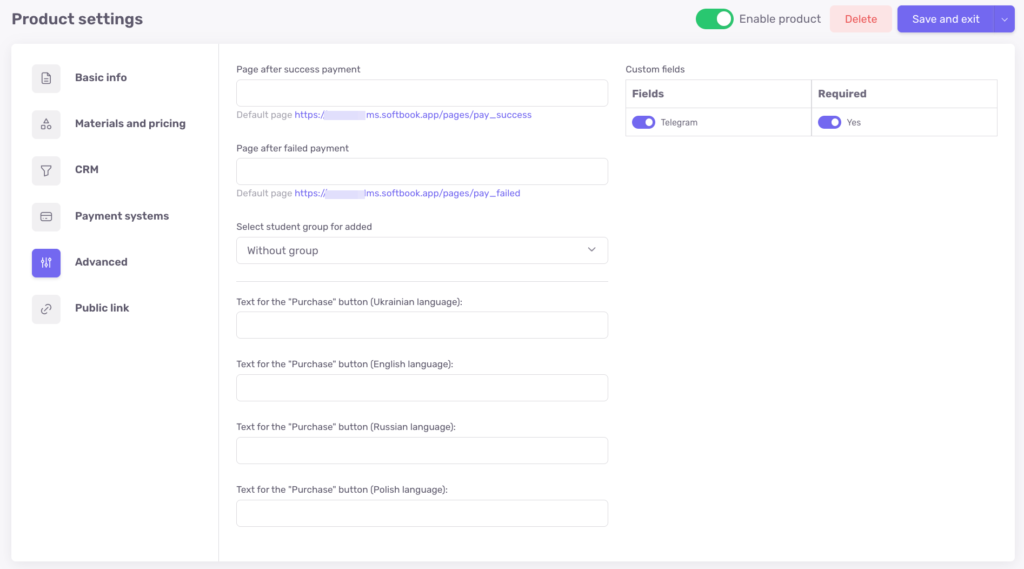
At this stage, you can also set your own text for the “Purchase” button.
6. Last Stage – “Public link”. Here, you will find a brief summary of your product and two important items. The first item is the payment link for your product. This is the link that you will copy and paste onto your landing pages or provide to individuals who wish to purchase your product.
For example, if you have created a landing page with three different products at varying prices, you can embed the corresponding payment links into the purchase buttons.

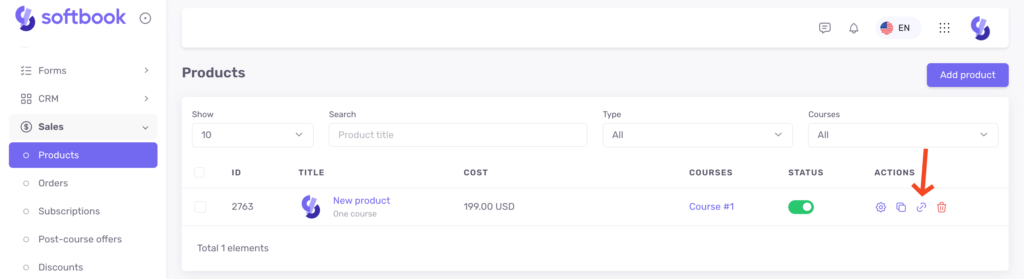
You will be redirected to the page with a list of products. It displays brief information about the product names, contents, status, and action buttons: edit, copy product, copy product link, and delete.
If you follow the link, you will be taken to the page of your product. It will contain everything you created in the previous stages: product name, avatar, cover image, description, customer form, and available payment systems.

An order will be created in the system using the email provided in the form, and upon successful payment, the client will become a student and receive access details to the course.
The payment systems connected to your account will be displayed on the form if you have more than one. The client will be able to choose between them, and each system name is clickable. If you only use one payment system, it will be preselected by default and won’t be displayed on the form.
So, when a client receives the product link or clicks the purchase button on the landing page, they will be directed to the product page with the registration form. After filling out the form and clicking the “Proceed to Payment” button, they will be redirected to the online payment page. If the payment is successful, they will see a confirmation page on the screen and receive an email with login details and access to the product.
That’s it! Now you know how to create products and launch them.


