Orders
In your online school, under “Sales” there is a subsection called “Orders”. You need it to keep track of status information for all product and course orders.
This section contains the following information:
- total financial revenue
- total number of orders
- total new unpaid orders
- total paid orders
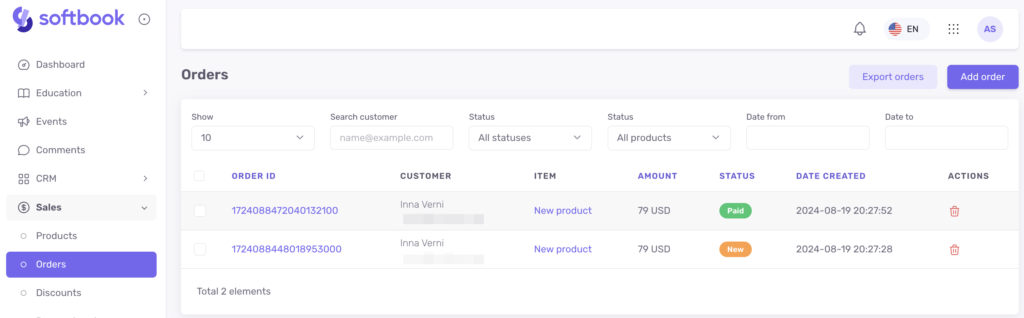
- list of all orders with ID, surname and first name of each customer, product/course name, price, status, date of creation and list of possible actions.
Information in the “Orders” subsection is entered in two ways:
- automatically, when a customer pays for or orders a product/course
- manually, when the payment or order of a product takes place outside the online school system.
Orders that the client has left but not paid for are indicated in the list by the word “New”, which is located on the orange bar. Paid orders are indicated in the list by the word “Paid” on the green bar.
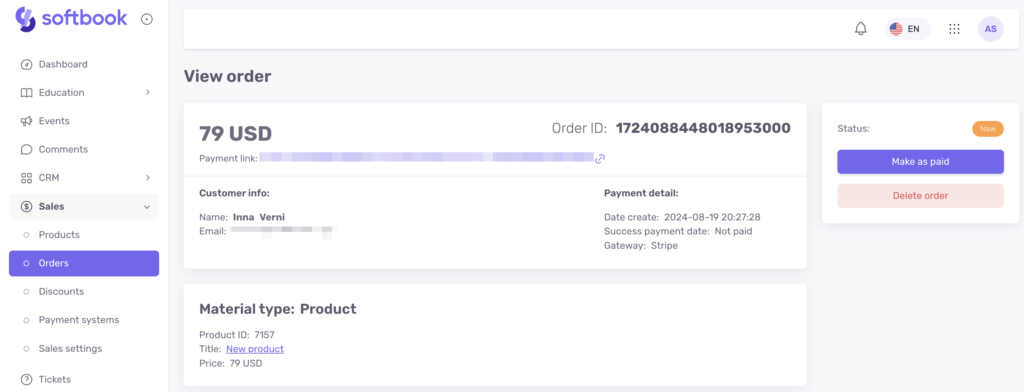
To work with an order, you need to click on its ID in the list. You will see its card with the following data:
- cost
- order ID for its identification
- information about the customer: surname and first name, his email address
- order description
- payment details: order creation date, payment date, payment system
- payment status: new or paid
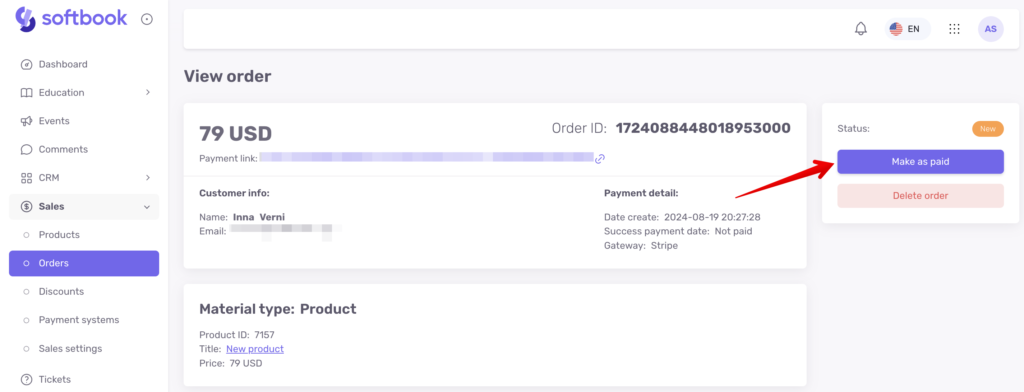
An order can be deleted or marked as paid manually. To do this, click on the “Mark as paid” button. After that, the client will receive data with access to the platform and login details to his email.
Orders can also be created manually. If you want to accept payments outside your online school, from your website, or somewhere else. But want to somehow capture those payments in the online school to track them later. To do this, you can create orders manually, right in the Orders subsection.
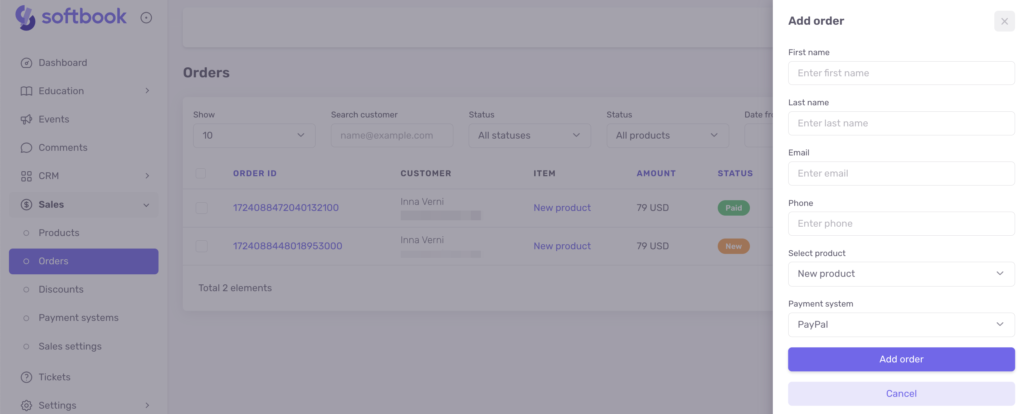
For example, you’ve received a payment from a customer, and you want to record it. Click on the “Add Order” button in the top right corner. A new order form will open up for you to fill out. Type in the client’s last name, first name, phone number, and email, choose a product name from the drop-down list and click the “Add Order” button.
Important: select a product, because orders are linked to products.
The card of this new order with all the data will appear on the screen. Since you have received payment for this order, mark it as paid by clicking the “Mark as paid” button.
After that, the client’s data will be sent to the list of students and the corresponding group, if any, and he/she will be given access to the corresponding course.
Important: if the student was previously registered somewhere on Softbook LMS to the e-mail address he/she left in the order, the system will display his/her name and contact details that were entered earlier. That is, the data on the order card and in the student’s card may differ.
If you need to process order data outside your school, use the “Export Orders” button, which is located next to the “Add Order” button.
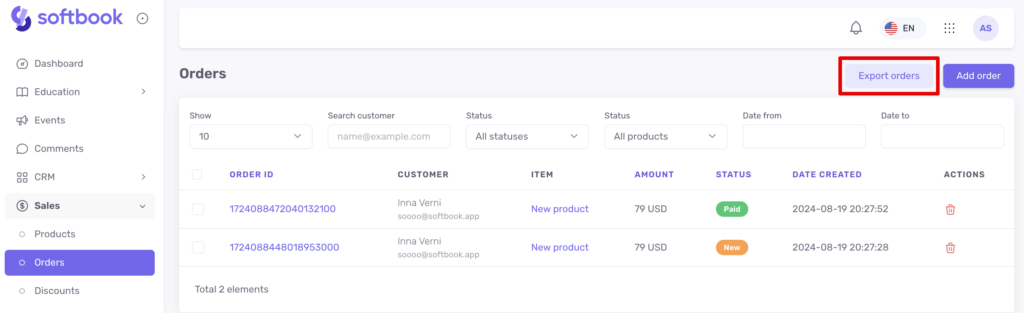
To export orders, first, sort the data by the available parameters in the section. Then click the “Export Orders” button – the platform will generate the data in the form of a CSV file. It can be downloaded to a computer and processed further.
Done! Now you know the purpose of the “Orders” subsection and how to work with it.


