Discounts
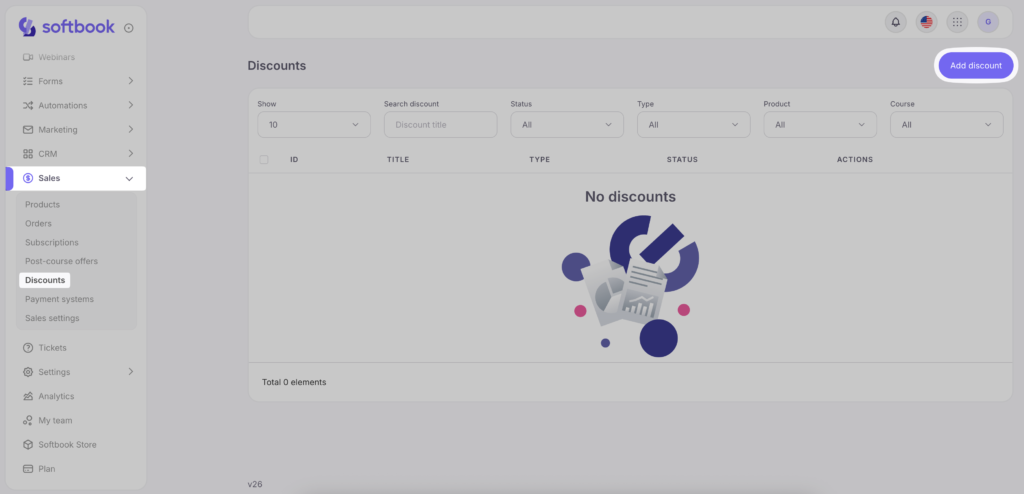
If you plan to attract students with promotional discounts on your courses and products, Softbook LMS has a tool for this very purpose. In the “Sales” section, there is a subsection called “Discounts”, which will be a real boon for you and your school team. To start using it, follow a few steps:
- Go to the “Discounts” subsection and click on the “Add discount” button.
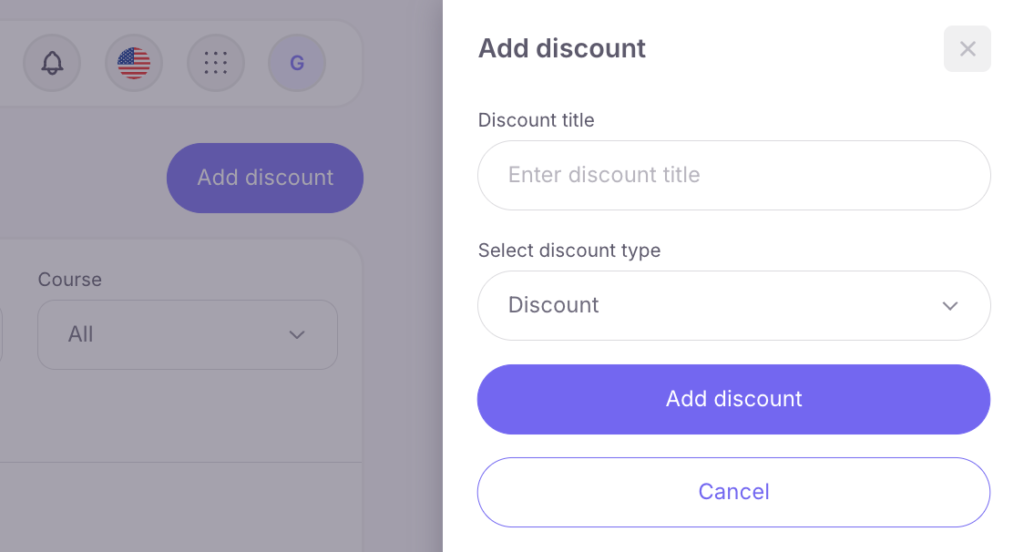
- In the field that opens, enter the name of the discount and choose its type: promo code or discount (click on discount). Then click below “Add discount”.
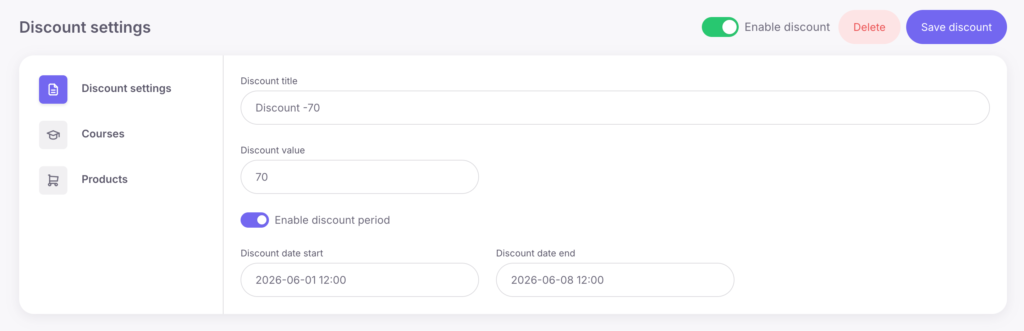
- You’ll be taken to the discount editor page. Here you have the standard buttons for storing, deleting, and activating a discount. The editor field is also divided into 3 categories:
– discount settings. Here you can enter the name of the discount, choose its size, and set the validity period by selecting the dates in the corresponding boxes. If you don’t set the validity period, it will work since you activate it.
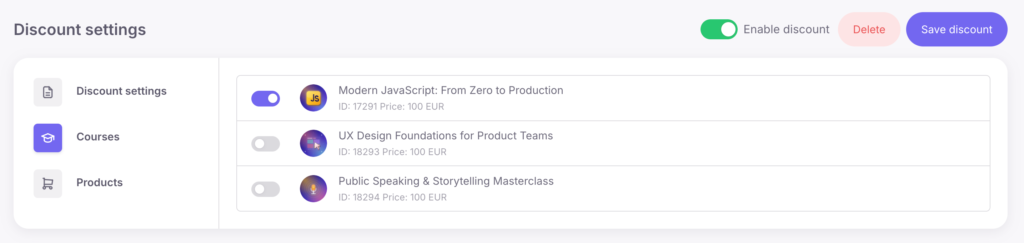
– сourses. Here you will see a list of all the courses you have made available for purchase within your school. Select the course you want to put a discount on and activate the item next to it. Click the “Save Discount” button to make everything work.
When the course discount is active, it is displayed on the course card as follows: the main price is crossed out, and the promotional price is written in red next to it. When the student decides to buy the course and clicks on the “Buy Course” button, the course card will appear with the main price crossed out, the promotional price, and a timer with days, hours, minutes and seconds that will show how long the discount is still valid. The student clicks “Buy Course” and the payment form will have the promotional price in front of them.
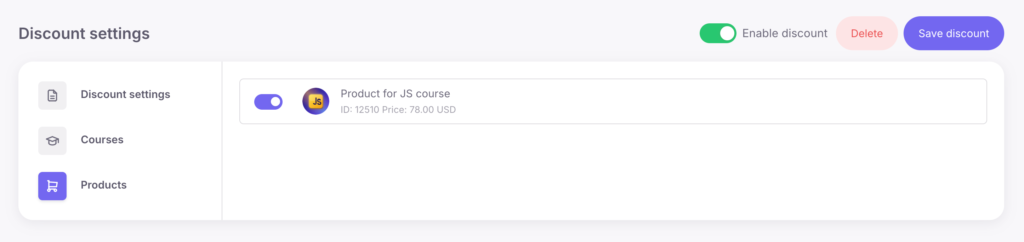
– products. If you want to set promotional discounts on a specific product, activate this item next to the specific product from the list, set the validity period. Click the “Save Discount” button for it to work.
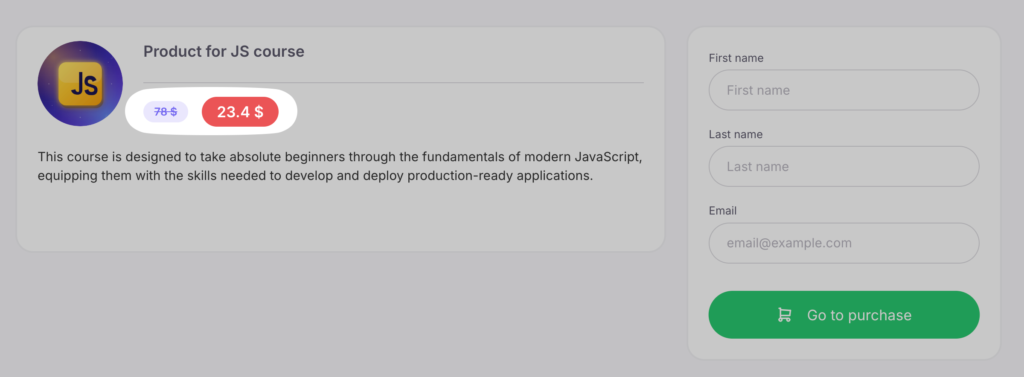
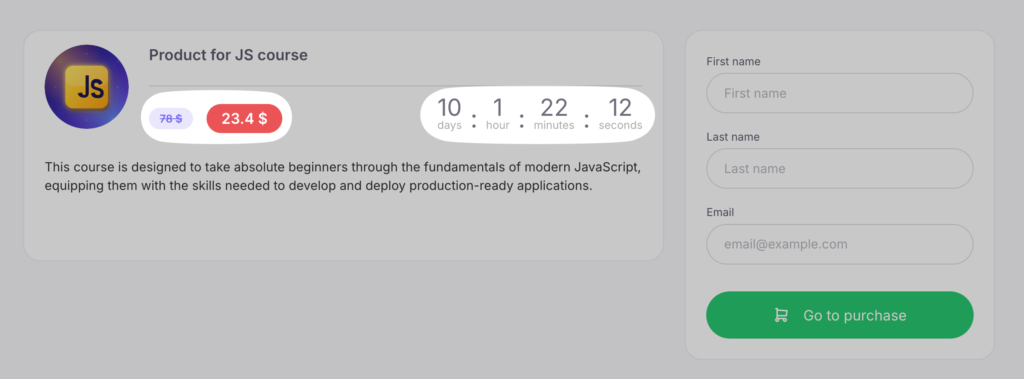
Now, on the product page, the promotional price will appear next to the crossed-out standard price in the same currency you set.
Additionally, the same timer will appear next to it, indicating the discount’s validity period.
The list of all discounts will be placed in the “Discounts” subsection and will contain the following data: ID, name, discount type, status, and actions. They can be filtered by courses, types, statuses, or products in the fields above this list on the same page.


