Messenger
Messenger is a tool for exchanging messages between all school participants — students, teachers, administrators, and owners. It works together with the social network and enables internal communication within the platform without the need for external messengers.
1. Enabling Messenger
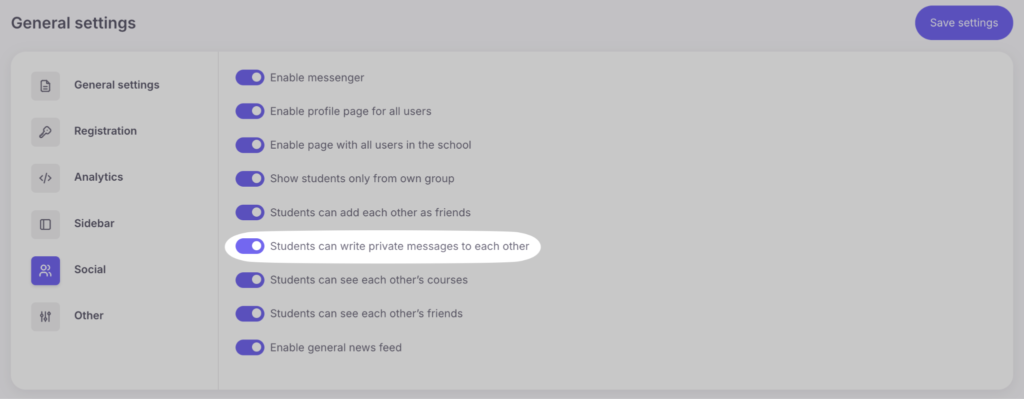
To activate Messenger, go to “Settings” → “General Settings” → “Social”, enable the option “Enable Messenger”, save changes and refresh the page.
Once activated, all users will see the Messenger icon in the top panel of the interface.

2. How to Send Messages
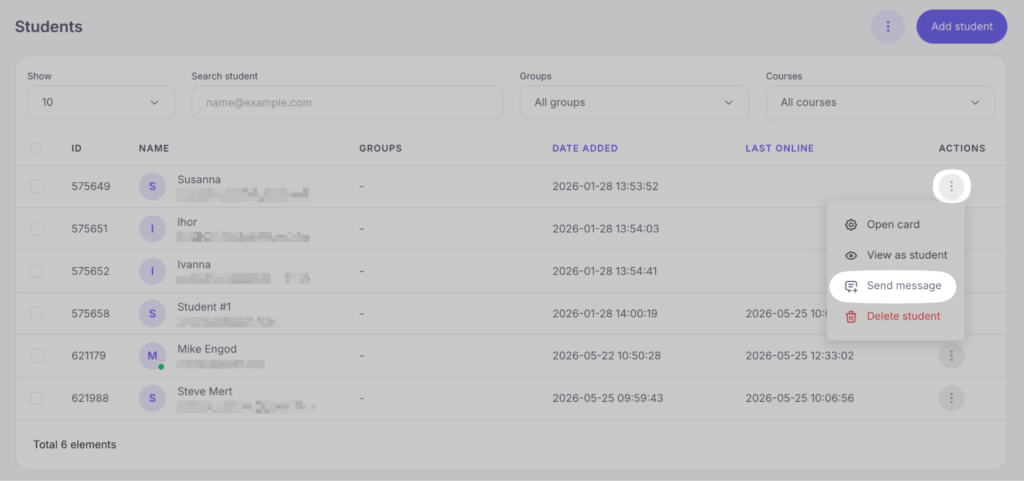
School staff can send messages to students through “Education” → “Students”. To do so, click the Messenger icon next to the “Open” button.
To message an administrator or teacher, go to “My team” and click the Messenger icon next to the desired staff member.
Students can send messages to other users by first finding them through the “Users” section, then opening their profile and clicking the “Send Message” button.

Important! This function works only if the “Students can write private messages to each other” option is enabled.
Users receive pop-up notifications about new messages. By clicking the notification, the chat window opens immediately, allowing for a quick response.

3. Group Chats
In addition to private messages, Messenger allows you to create group chats for communication between multiple participants at the same time.
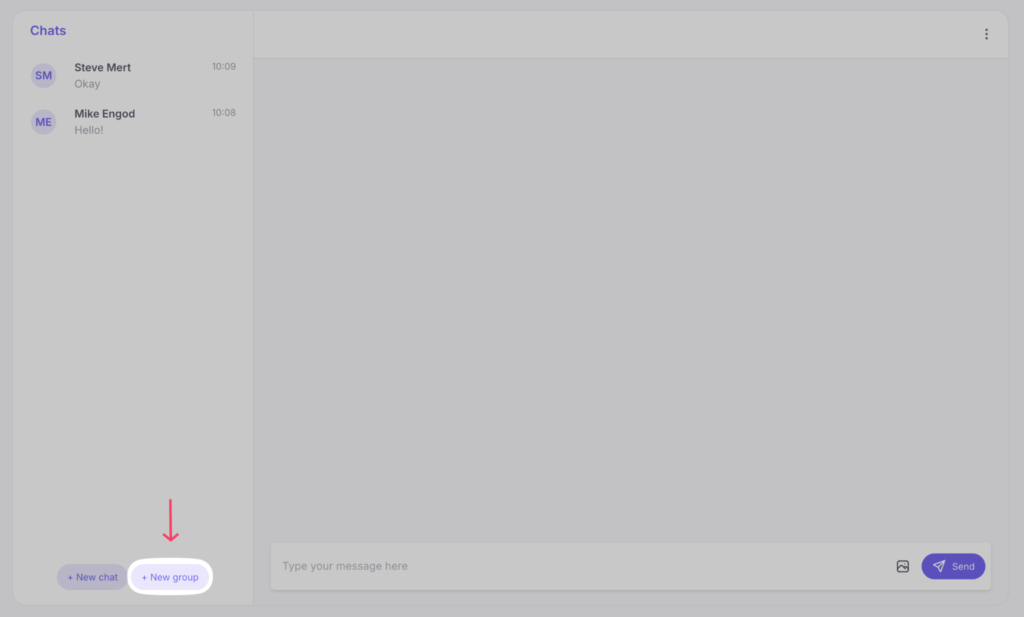
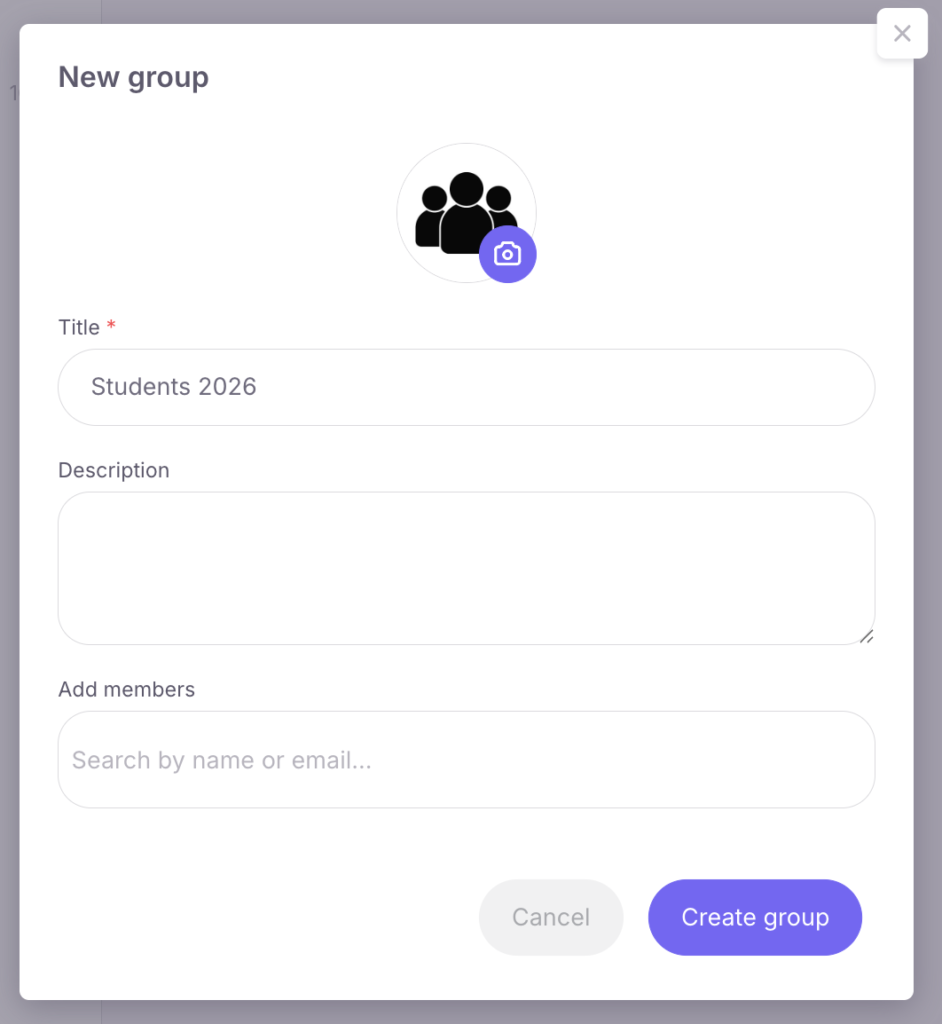
To create a group manually, click the “New Group” button in the Messenger interface.
A window will open where you need to specify the chat name, add a description, upload an avatar, and add participants.
After creating the chat, you can manage it by clicking the three-dot icon in the top-right corner and selecting “Group Information”.
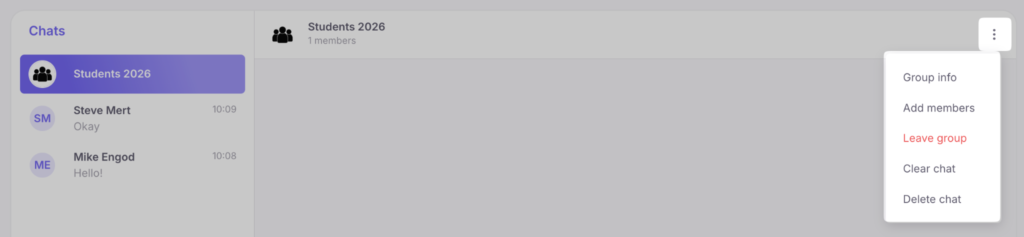
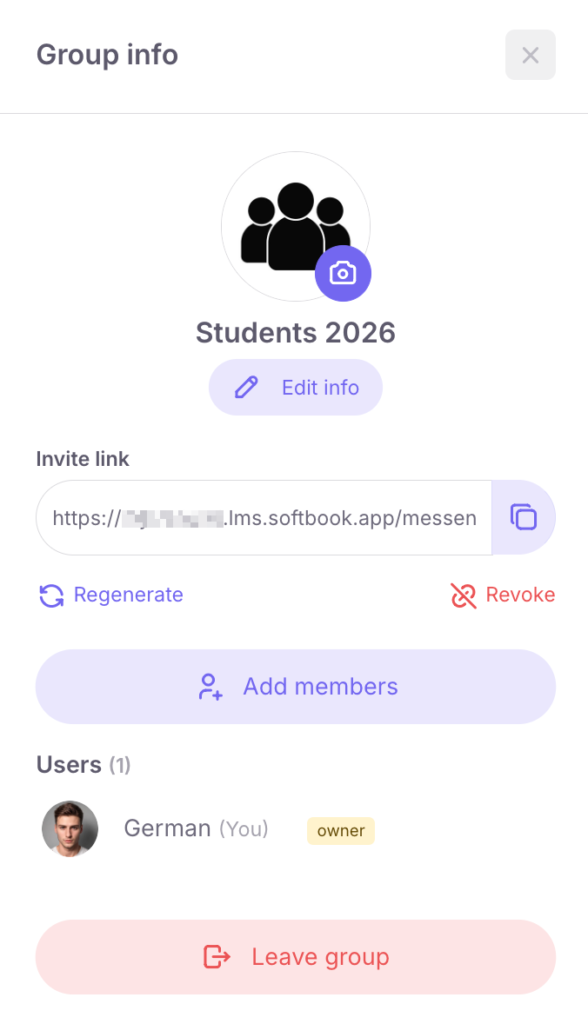
The following options are available in this menu:
- assigning chat administrators;
- adding new participants;
- invitation via link: you can copy a unique link and send it to students. If necessary, this link can be regenerated or completely disabled.
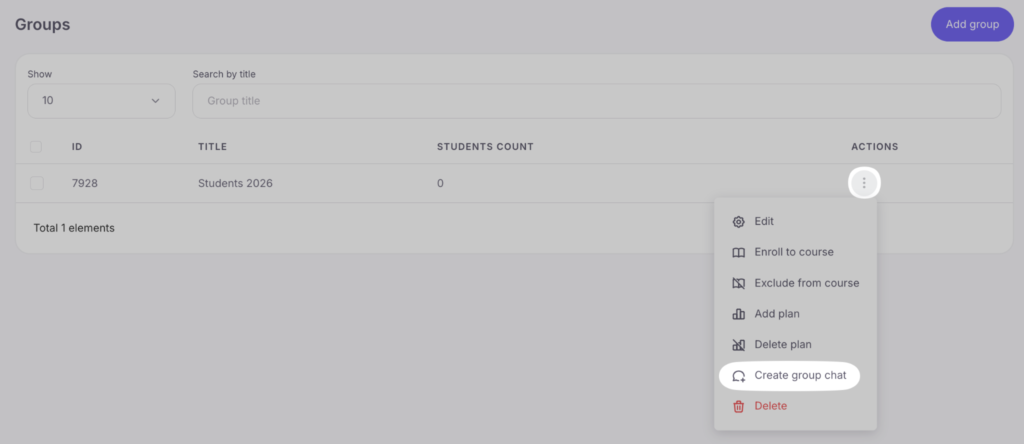
For convenience, the “Student Groups” section includes a “Create group chat” button. When clicked, the system automatically creates a group conversation and instantly adds all students from the selected study group.
4. Messenger Features
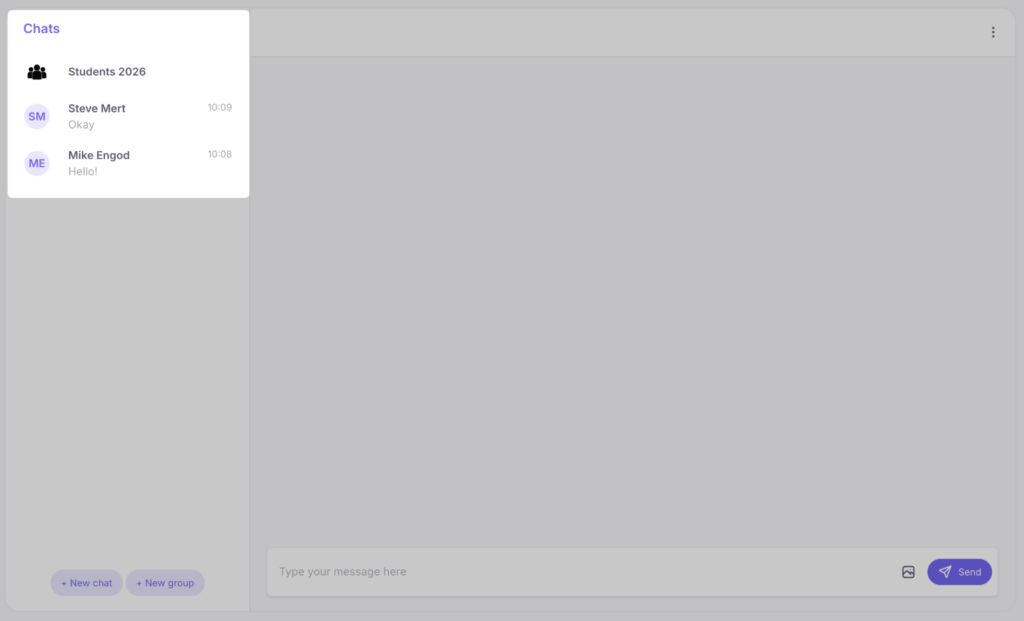
With Messenger, users can:
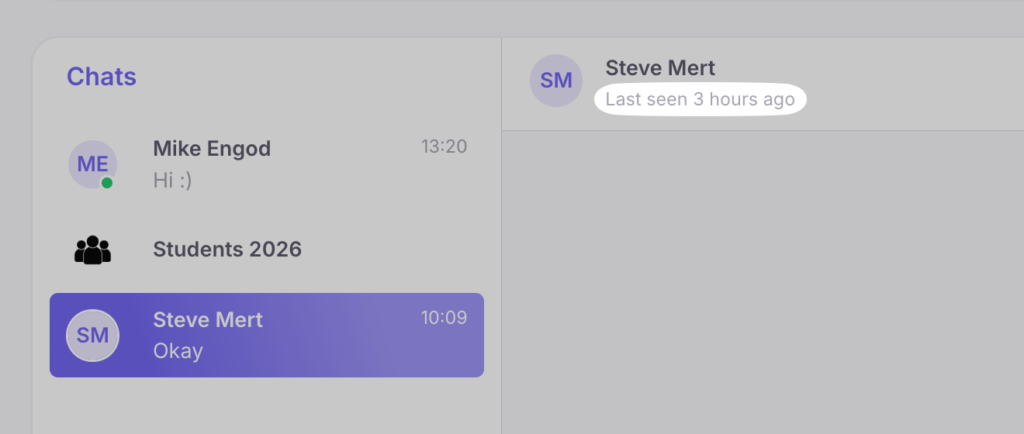
- view the list of all your chats;
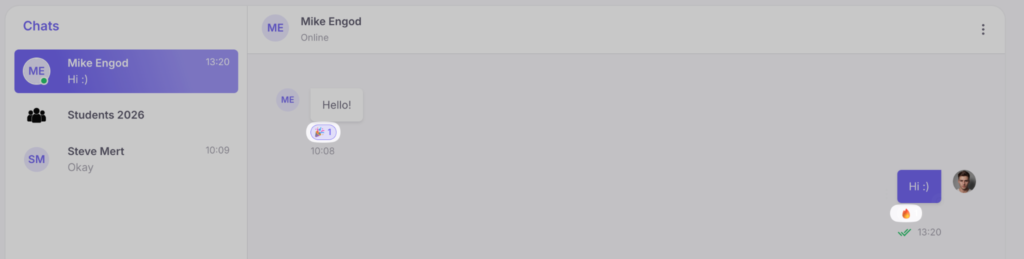
- see who has read the message via read indicators;

- track when the interlocutor is typing;

- edit sent messages directly in the dialogue;

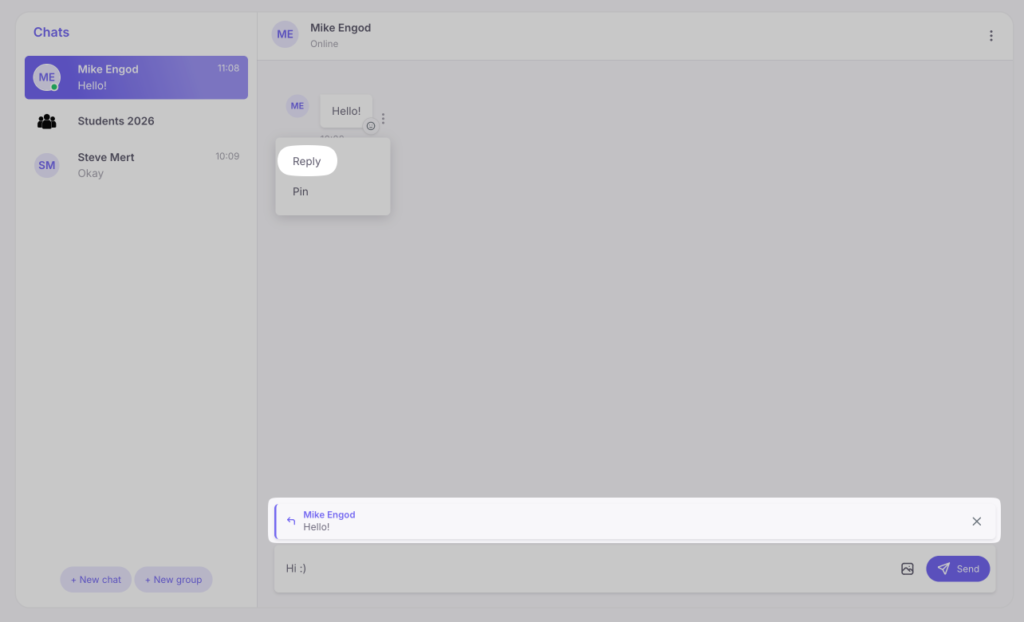
- reply to specific messages in the chat;
- add reactions to other users’ messages;
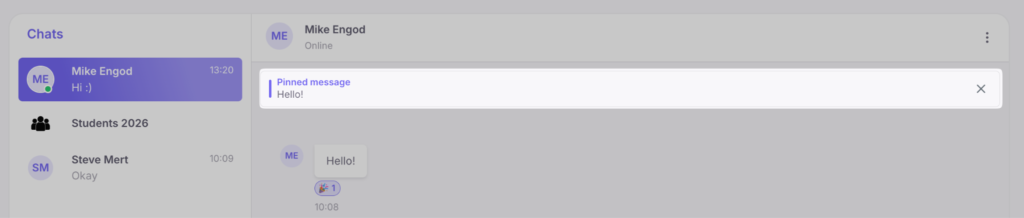
- pin important messages at the top of the conversation (this provides quick access to the most important information);
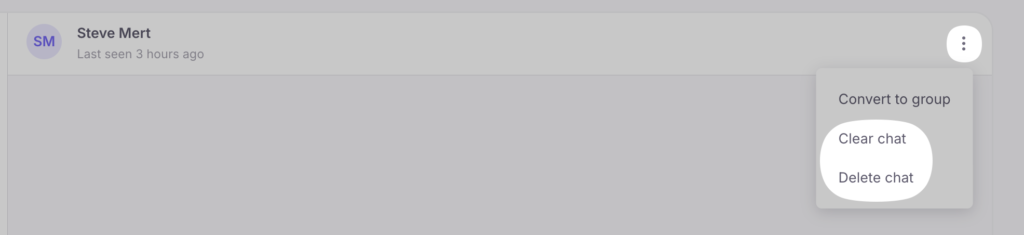
- see the contact’s last visit;
- delete individual messages, clear a chat, or delete a conversation entirely;
- attach images and other files to messages;

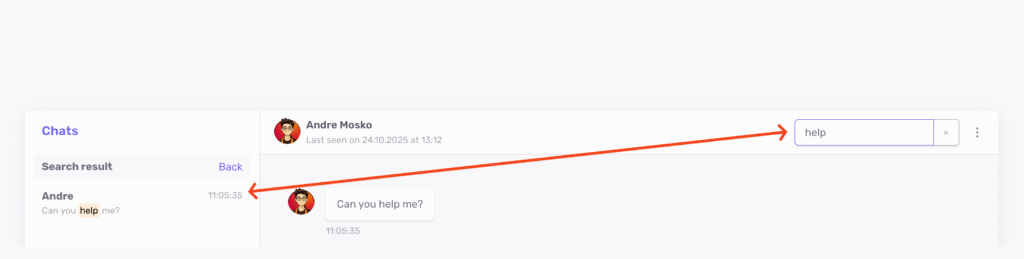
- search for messages by keywords within a dialogue.
Messenger keeps users connected with the team and students. All conversations are stored in one place, and notifications help respond promptly to important issues.


