Custom fields
If your school needs more data about students, deals, or products, use additional fields. This is a way to expand your school’s capabilities with just a few clicks.
To create additional fields, go to the “Settings” section and open the “Custom fields” subsection.
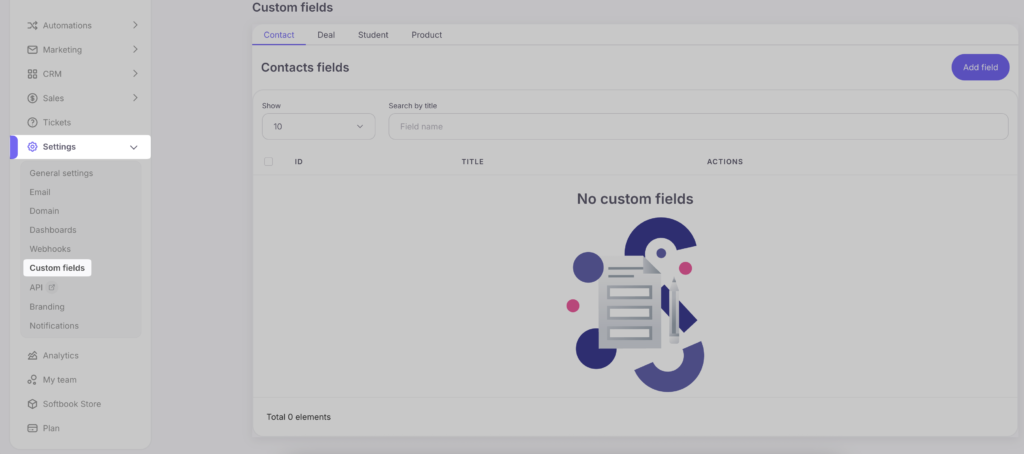
You will see a field with four tabs:
- Contact
- Deal
- Student
- Product
This is the navigator page for additional fields that are in the corresponding sections of your school. Here you can create additional fields, edit them, or delete them.
How to Create an Custom field for a Contact
If you need more information about a contact, click on the “Contact” tab and select “Add Field”. The field editor will open. Choose the required field type (contact), enter its name, and save it.

Go to the “Contacts” subsection, refresh the page, and you will see the new field in the contact card. The number of additional fields is unlimited.

How to Create an Custom field for a Deal
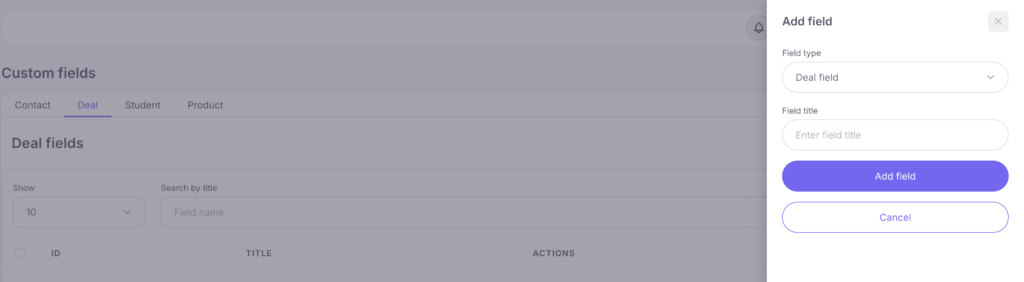
If you need more information about deals, click on the “Deals” tab and select “Add Field”. Then choose the required field type (deal), enter its name below, and click the “Add Field” button.
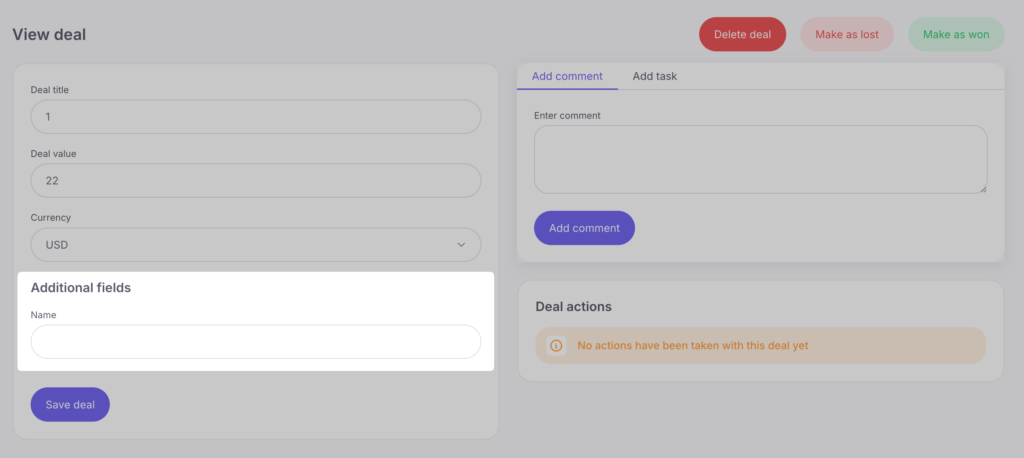
If you go to the “Deals” subsection, you will see the card of this deal with the newly created field.
How to Create an Custom field for a Student
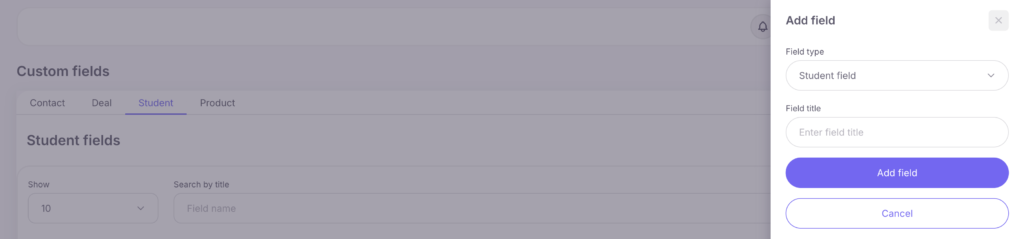
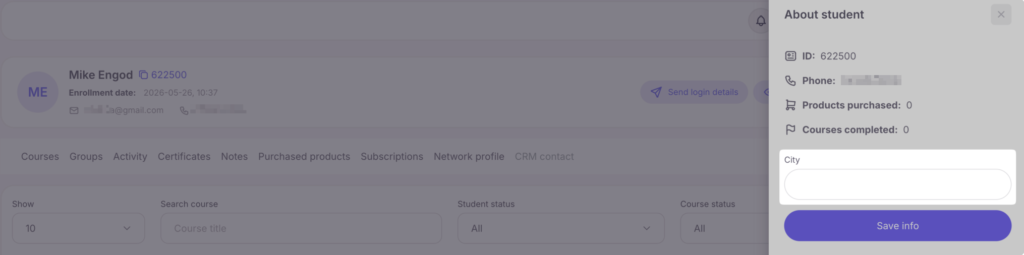
Additional fields will help you add more data about your students. You can find student data in the student cards. If you need to create an additional field, click on the “Student” tab and select “Add Field”. In the field editor that opens, choose the required field type (student), enter the field name, and save it.
Refresh the page, and you will see the new field in the student card.
How to Create an Custom field for a Product
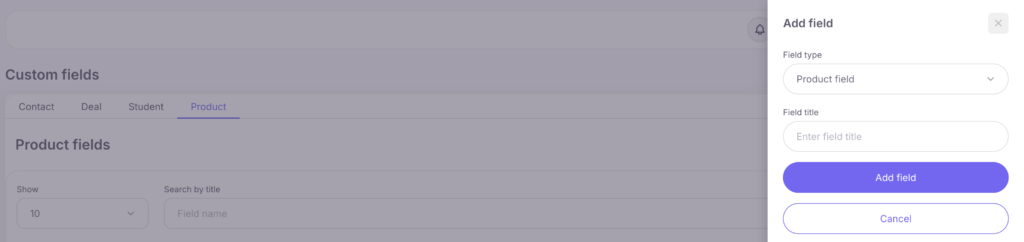
If you need to create an additional field for a product, click on the “Product” tab and select “Add Field”. In the field editor that opens, choose the required field type (product), enter the field name, and save it. Refresh the product page, and you will see the new additional field.
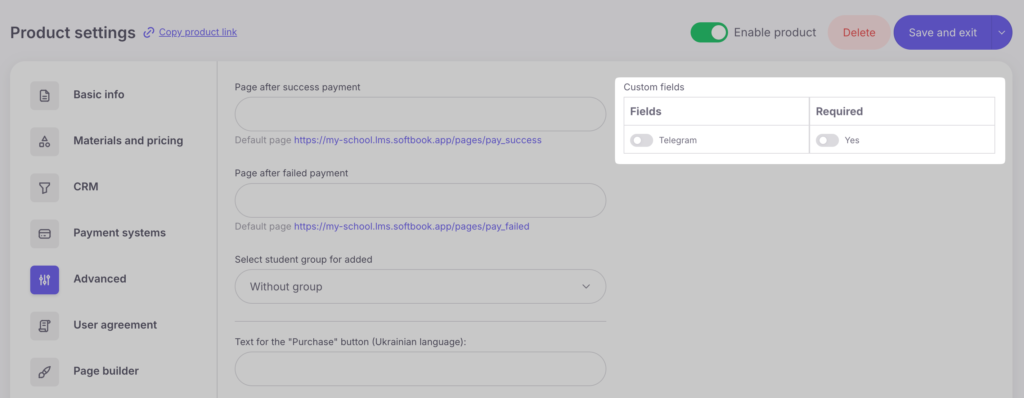
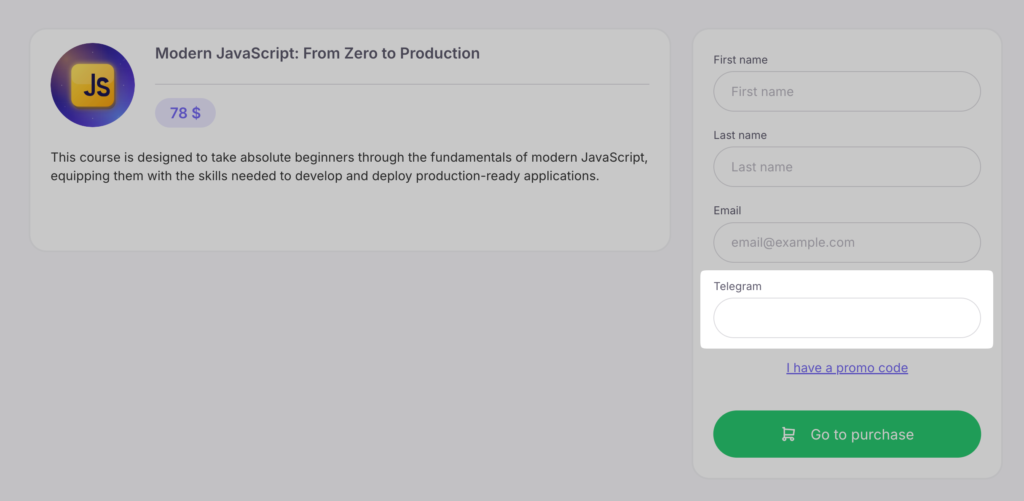
Here you can work with additional fields for product pages. You can configure them in the product editor in the “Additional” section. There you will see 2 columns with settings for additional fields. You can activate the display of a specific additional field and make it mandatory to fill out.
Done! Now you know how to effectively work with additional fields for various purposes.


