Workflows
Automations in Softbook LMS follow the principle: “if something happens, perform a specific action.” For example: a student completes a course — send them a welcome email, a payment is received — add the student to a group, a user submits a form on the website — send a webhook. All of this happens automatically, without your involvement and without modifying the code.
Each automation is like a “map”: you place blocks on the workspace and connect them with lines. One block captures an event, another performs an action, and a third checks conditions.
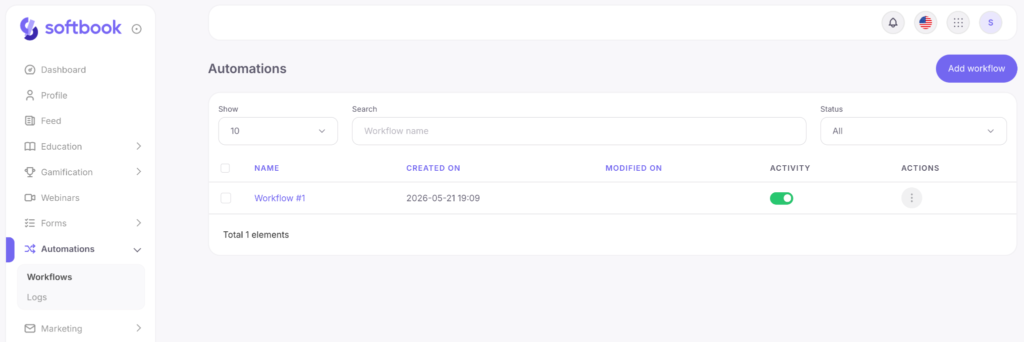
1. Your Automations List
The Automations section stores all your scenarios. On this page, you can:
- create a new automation using the “Add Process” button;
- open an existing scenario for editing;
- delete unnecessary automations;
- see the status — “Active” or “Inactive”.
Only active automations work. While a scenario is inactive, it acts as a draft: it appears in the list, but events do not trigger it. This is convenient for building and testing a scenario before it starts processing real students and customers.
2. How an Automation Works
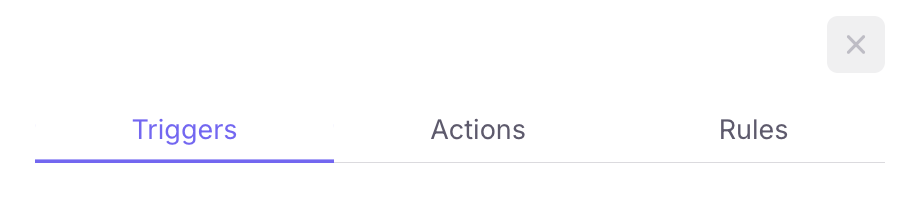
Any scenario consists of three types of blocks:
Trigger — an event that starts the automation (for example, “student completed a course” or “payment received”). This is always the first block.
Action — what needs to be done (for example, send an email, add to a group, send data to an external service).
Rule — an optional check between the trigger and the action (for example, set a timer).
By connecting these blocks with lines, you create a scenario: “when this happens → check this → do this.”
3. Editor
When opening an automation, a workspace appears. At the top of the editor, there is a “Modules” button — this is the palette of available blocks.
How it works:
- Add a trigger — choose the event that will launch the scenario.
- Click on a block — its settings will open on the right.
- Add an action (or several) and connect it to the trigger with a line: drag a line from the output point of one block to the input point of another.
- If needed, add a rule between the blocks.
In the top-right corner, there is a status switch and a “Save” button. Until you save the changes, they exist only in your browser.

4. Available Triggers
A trigger is the moment when the scenario starts.
Learning Triggers
- Course completed.
- Lesson started / Lesson completed.
- Test passed.
- Homework: submitted / approved / rejected.
- Added to group / Removed from group.
- Students imported.
- Student enrolled in course / Student removed from course.
Sales
- New order: product / course.
- Order paid: product / course.
CRM
- Contact created.
- Deal created.
Other
- Form submitted (a user filled out a form on the website).
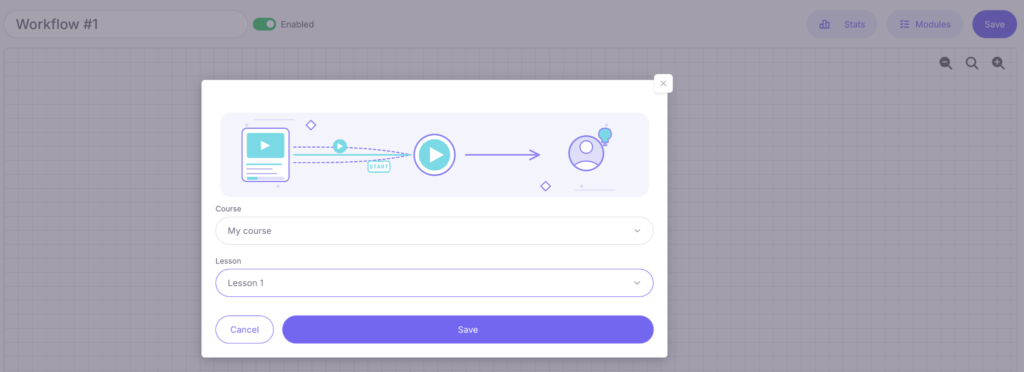
Most triggers can be narrowed down: in the settings, you can select a specific course or lesson so the automation reacts only to those events.
5. Available Actions
Working with Students
- Enroll in course / Remove from course.
- Add to group / Remove from group.
Sending Messages
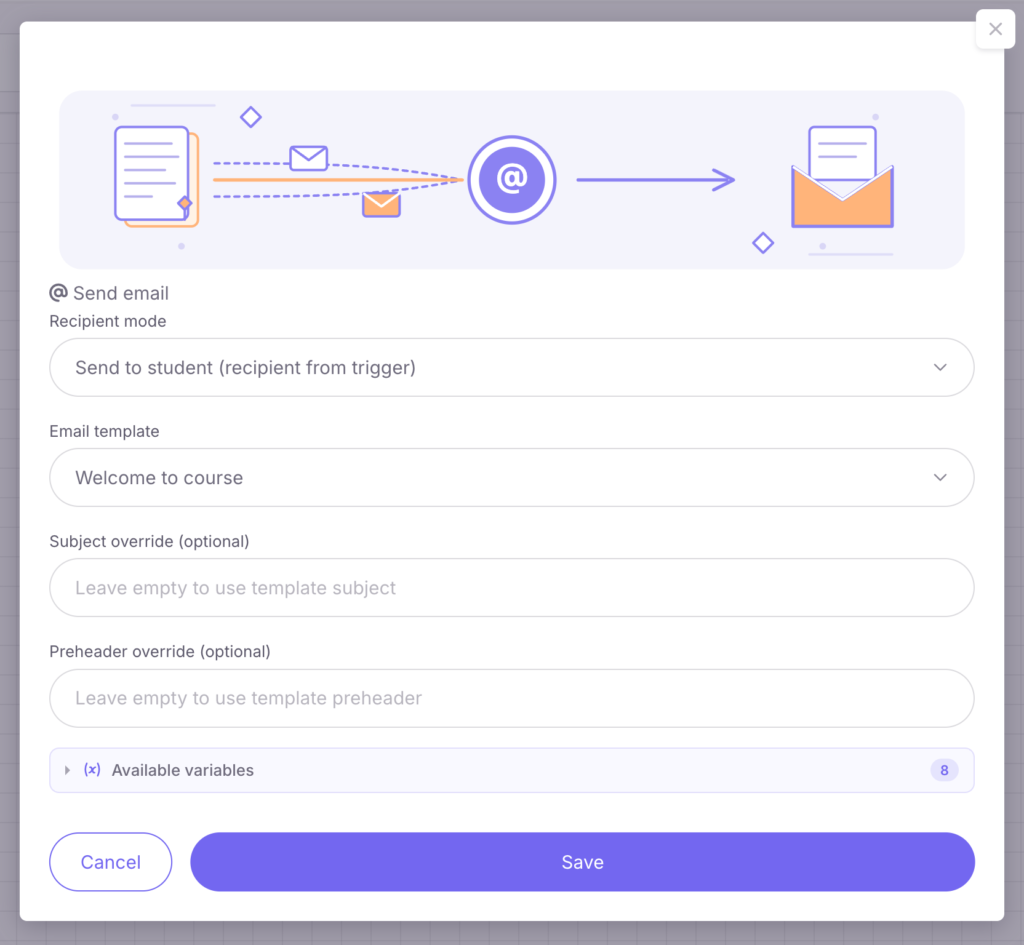
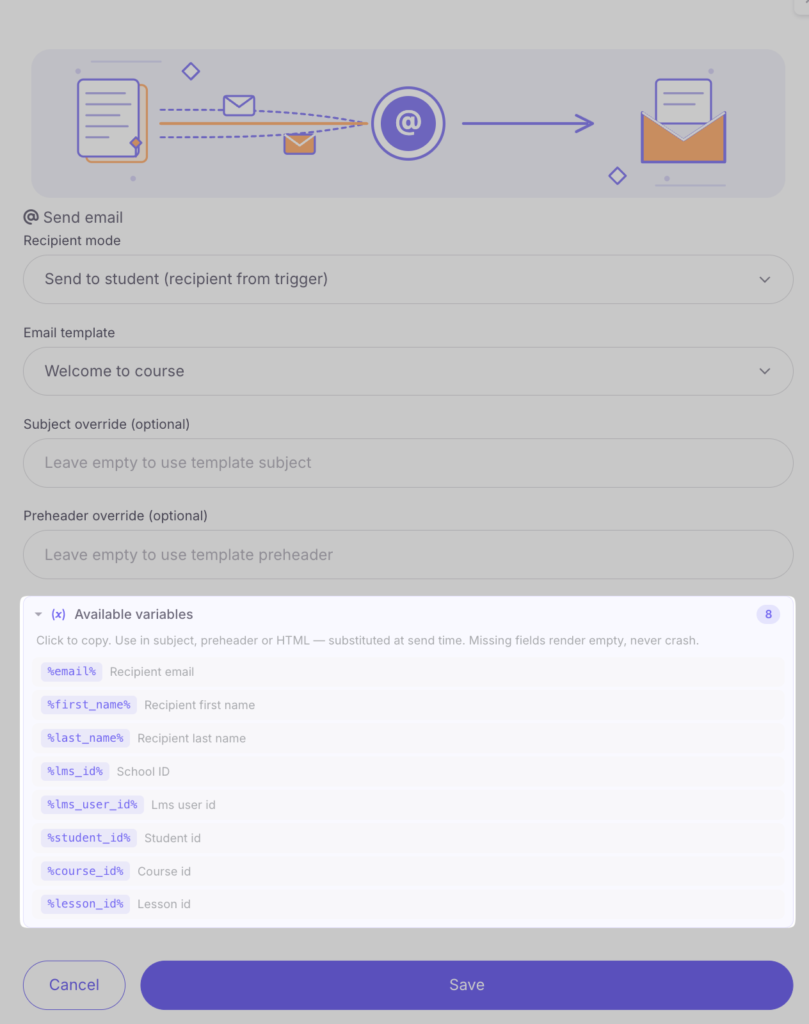
- Email: you can choose a ready-made template and, if necessary, specify a new email subject and title.
- Telegram: send a message to a student (if they connected Telegram) or to an administrator.
External Integrations
- HTTP Request: a “universal bridge” for connecting with any external services.
- Webhook: automatic notification of third-party systems about events.
6. Rules (Filters and Branching)
A rule is placed between the trigger and the action as a filter. The most popular one is “Field Condition.” You choose a data field (for example, “course title” or “order amount”), compare it with a value, and the scenario branches into “Yes” or “No” paths.
7. Data Variables
In emails or messages, you can use variables — data directly from the event (for example, {student_name} or {course_name}). Available variables are displayed in the block settings under the “Available Variables” section. Clicking on a variable automatically inserts it into the text.
8. Saving and Activation
After setup, click “Save” and enable the activity toggle.
Tip: first build the scenario without activating it, perform a test action (for example, create a test order), check the Logs, and only then activate the automation.
9. Logs
The Automations → Logs section stores the history of events. This is the main diagnostic tool. Logs can be filtered by automation name or keyword (for example, a student’s email). If an automation is not working, the logs will show whether the event occurred and whether the scenario passed through the filters. Read more in the “Logs” article.
10. Loop Protection
Softbook automatically stops scenarios that create infinite loops (when automations trigger each other repeatedly). You do not need to configure anything — the system will stop the chain automatically and record it in the logs.
11. Practical Tips
- Start small. Build one automation, test it in action, and then add more.
- Be specific with triggers. Choose specific courses or groups so the automation does not run everywhere.
- Use “field” filters. This allows you to manage scenarios without creating dozens of automation copies.
- Logs are your best friend. If something “doesn’t work,” check the logs first.
- Save your changes. Until the “Save” button is clicked, changes exist only in your browser.


