Site
This section is designed for creating school webpages using pre-made blocks and customizable elements. The tool allows you to publish the created pages on your own domain or a Softbook subdomain.
Creating a Page
- Go to the left side menu and select the Marketing → Site section.
- Click the Create page button.
- Enter the name of the page.
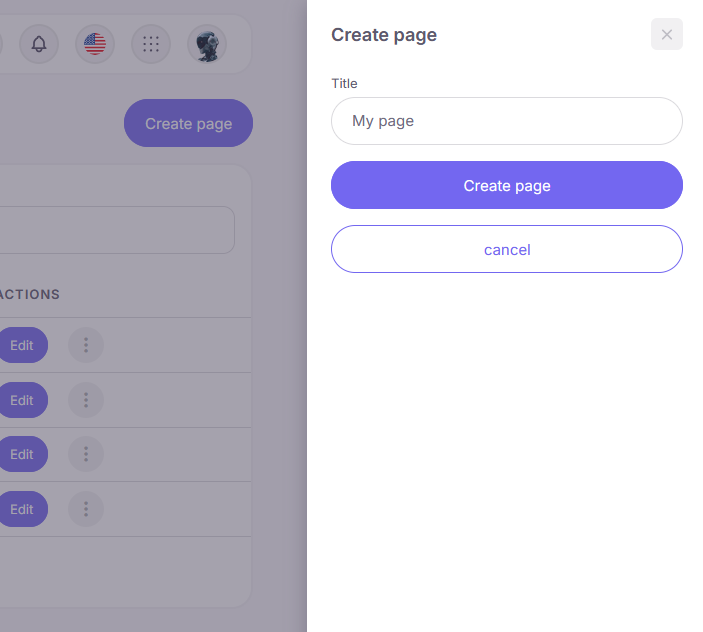
The URL address can be edited at any stage after creating the page. This functionality is suitable for creating course landing pages, a school homepage, event registration pages, and other marketing tasks.
Editor Interface
The editor workspace is divided into three main areas:
- Central area (Canvas) — visual representation of the current page.
- Left panel — catalog of blocks available to add.
- Right panel — settings for the selected block (text, color, background, margins).
At the top of the editor, there is a Desktop / Tablet / Mobile switch to configure the display of blocks on computers, tablets, and mobile devices.
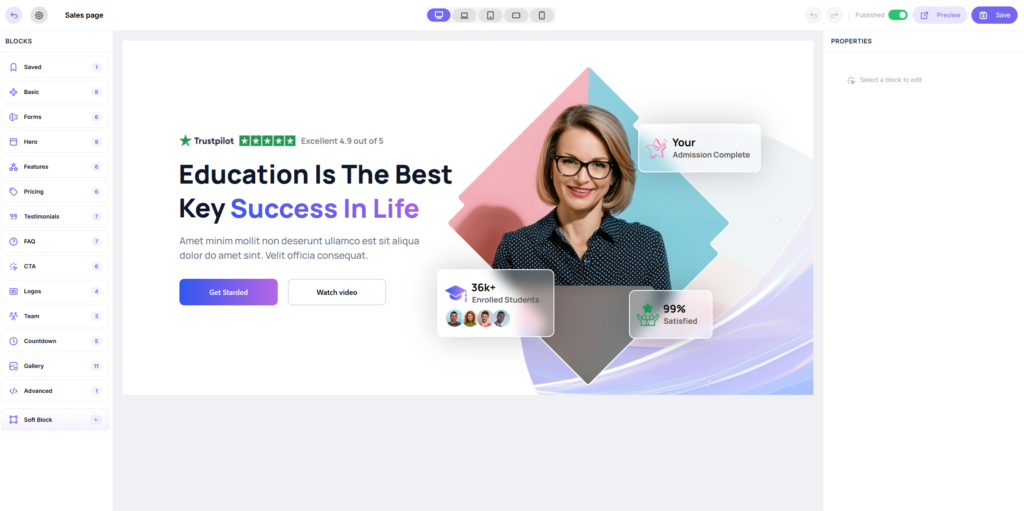
Control buttons are located in the top right corner:
- Preview — opens the page in a new tab to check its appearance.
- Save — saves current changes in the system.
- Publish — applies changes and publishes the page at the specified URL.
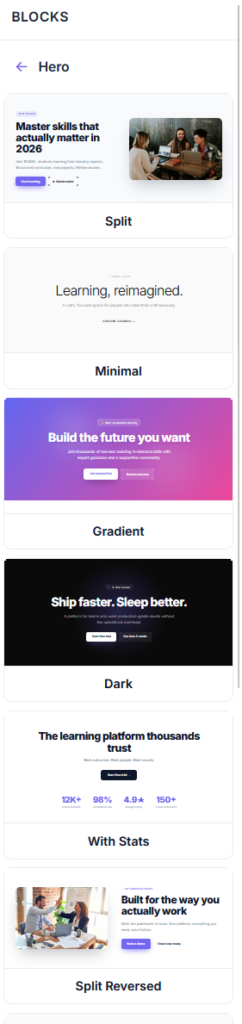
The following block groups are available in the left panel:
- Saved: block templates you saved for reuse on other pages.
- Basic: text elements and simple structural containers.
- Forms: contact data collection blocks (name, email, phone). Data is saved in the LMS.
- Hero Screen (Hero): first website screens (covers) with titles, subtitles, buttons, and backgrounds.
- Advantages: elements for a structured visual description of the product or school benefits.
- Pricing: cards with plans, price descriptions, and checkout buttons.
- Reviews: cards for publishing student reviews (in text format or with photos).
- FAQ: drop-down lists with answers to frequently asked questions.
- CTA: blocks with an emphasized Call to Action on a contrasting background.
- Logos: grids for placing logos (e.g., client or partner companies).
- Team: cards with photos and information about teachers or school staff.
- Countdown: timers for running promotions and limited-time offers.
- Gallery: media files organized in an image gallery format.
- Advanced: HTML block.
- Soft Block: a customizable block for placing elements freely outside the standard grid.
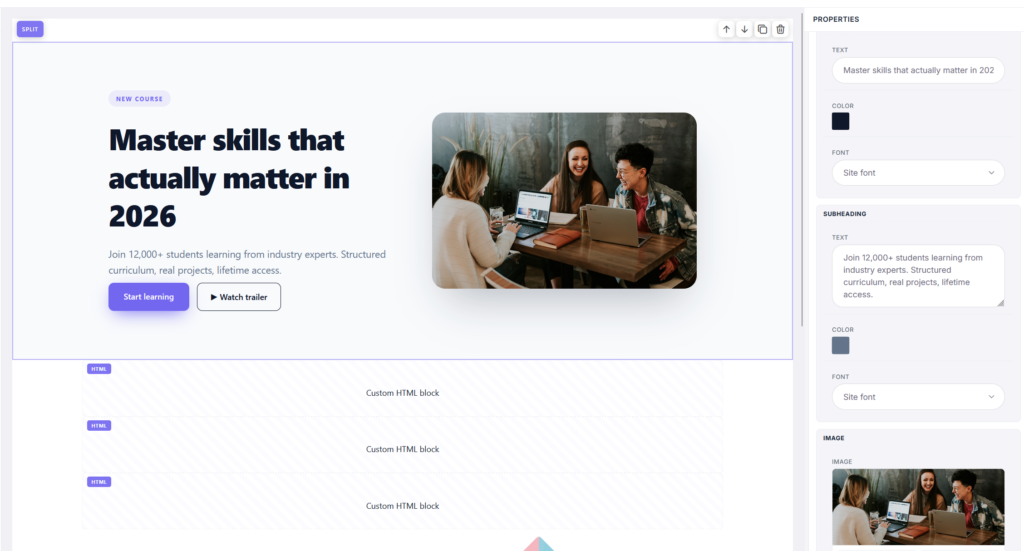
Configuring Standard Blocks
To edit, select the desired block by clicking on it (settings will open in the right panel):
- Block Style: setup background (color, image, video), margins, and content width.
- Content: editing text, media files, and links.
- Visibility: enabling or disabling the block display for specific device types.
To change the order of the blocks, click and hold the move icon (dots to the left of the block) and drag the block up or down.
Additional block controls:
- Duplicate — creates an exact copy.
- Hide — disables block display on the published page (the block remains in the editor).
- Delete — completely removes the block from the page.
Soft Block Soft Block allows you to place elements freely. To enter editing mode, add a Soft Block from the corresponding category and click the Edit button.
Soft Block Elements
The following elements are available in the left panel to place on the canvas:
- Text: adding headings and paragraphs with partial formatting options (bold, italic, underline, color).
- Image: uploading images with cropping functions.
- Shape: geometric shapes (rectangle, circle) with fill, gradient, and “Glass mode” settings.
- Button: adding a button with style and click action settings.
- Video: inserting video via YouTube or Vimeo links.
- Form: a standard contact data collection form.
- Product: a form linked to a product in the LMS to process payments.
The size, position, and rotation angle of each element can be changed by drag-and-drop or by entering exact values.
Canvas Styles
When all elements are deselected, the canvas settings appear in the right panel:
- Background selection (solid color, gradient, image).
- Block height setup for each device type separately.
- Horizontal content behavior setup (standard or overflowing the screen edges).
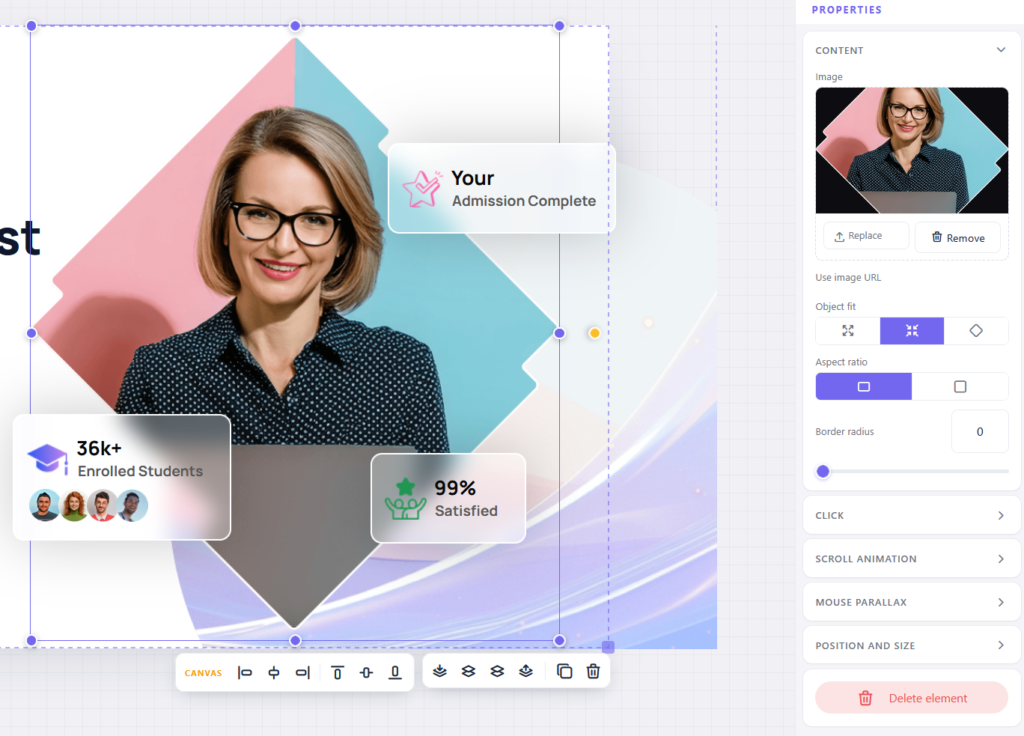
Element Settings
For a selected element, the following parameters are available in the right panel:
- Position and Size: exact X/Y coordinates, width and height (in pixels or percentages), snapping to the container or screen edges.
- Rotation and Opacity.
- Z-index: configuring the stacking order of elements.

Text Settings
In the text element panel, you can set the font, size, color, letter spacing, shadow, and alignment. Highlighting a specific word or phrase inside the text brings up a pop-up panel for local formatting.
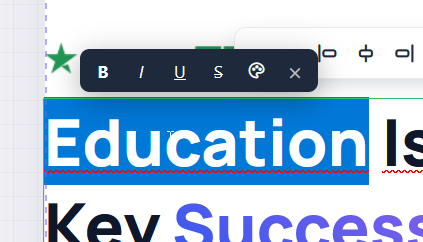
Image Settings
Files can be uploaded by dragging and dropping or clicking on the element. Replace and Delete buttons are available.
- Fill (Object fit): parameters for fitting an image into a frame.
- Proportions (Aspect ratio): a Square 1:1 toggle for automatically resizing the image to a square proportion.
- Corner rounding (Border radius): rounding radius (up to a circle shape).
Shape Settings
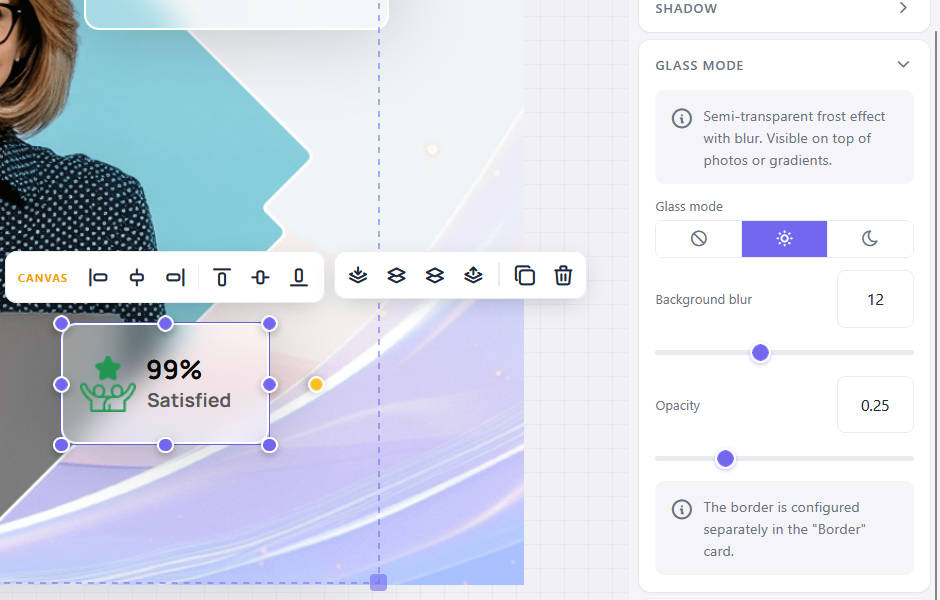
For geometric shapes (in addition to standard fill and gradient), Glass mode is available. It makes the shape translucent with a background blur effect underneath.
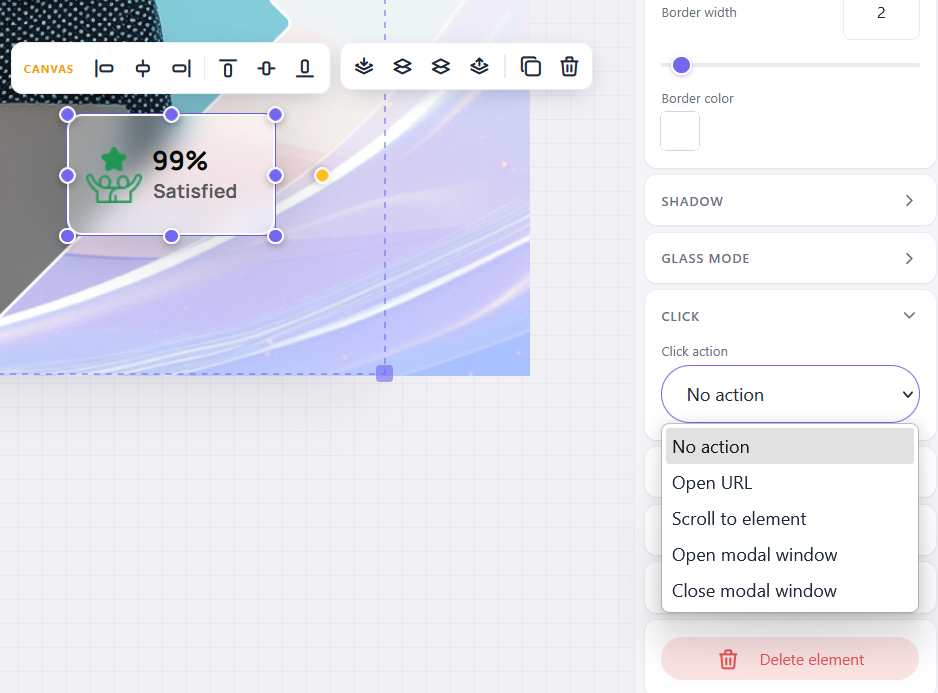
Click Actions
Any element (text, button, image, shape) can be assigned a target action upon clicking:
- Open link.
- Scroll page to a selected block.
- Open modal window.
- Close modal window.
Animation and Effects
- Scroll Animation: configuring the visual effect of an element appearing during scrolling (speed, delay, animation type).
- Parallax: enabling the effect of the element moving following the mouse cursor. The intensity of the effect is adjusted with a slider.
Popup Mode
A Soft Block can be transformed into a pop-up window. To do this, activate the Popup mode toggle in the block settings. Once activated, the block is hidden from the standard page flow and opens only when the target action “Open popup”, assigned to another page element, is triggered.
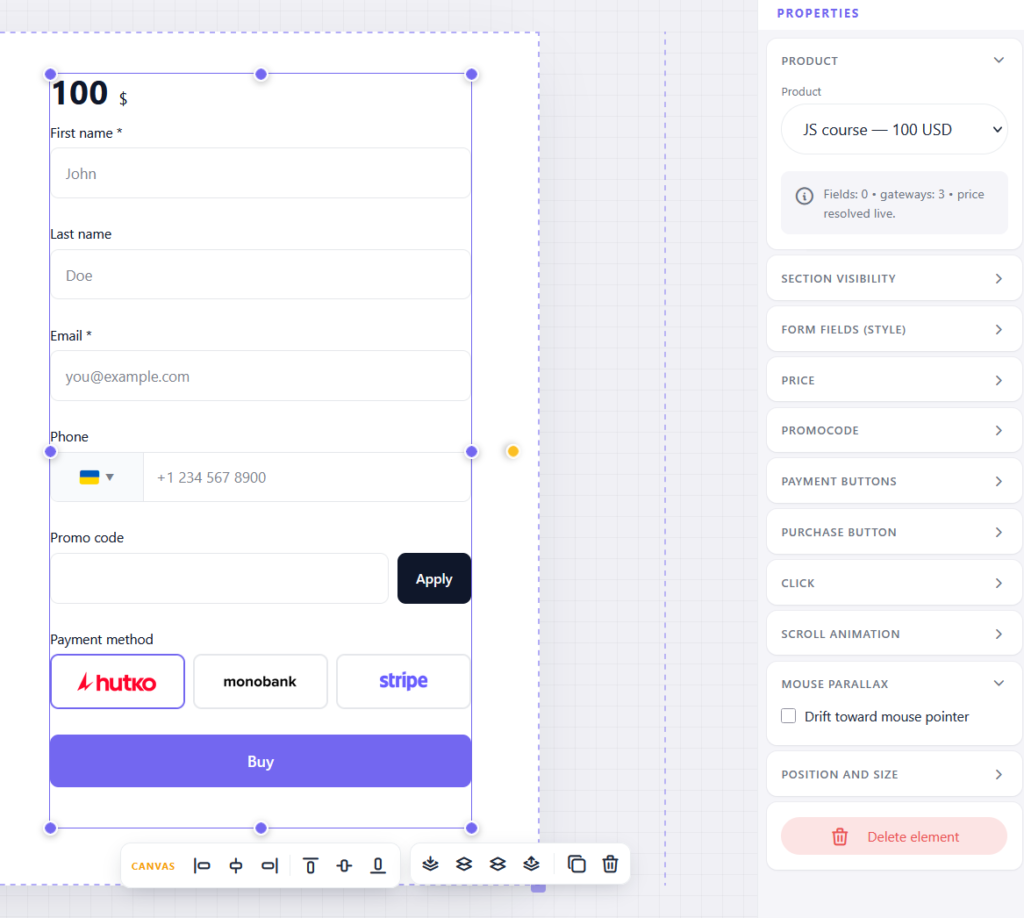
Product
An element for accepting payments directly from the landing page without redirection. Available settings:
- Selecting a product from the school catalog.
- Configuring form fields for data collection.
- Enabling/disabling the promo code input field.
- Configuring the display of buttons for available payment methods (connected in the LMS).
- Configuring the text and style of the payment button. Note: The product form supports recurring billing if it is provided by the selected product’s settings.
UTM Tags Collection
When a visitor lands on a page via a link with UTM tags, the system automatically:
- Saves tag data in the order card within the LMS.
- Transmits information via Webhook (if an integration is configured).
- Inserts values into hidden form fields (for example, the utm_source parameter from the URL is automatically captured in a field with the same name).
Hotkeys in Soft Block
- Arrows — move the selected element by 1 px.
- Shift + Arrows — move the selected element by 10 px.
- Delete — remove the selected element.
- Ctrl + Z / Ctrl + Y — undo / redo an action (history of 50 steps is saved).
- Holding the left mouse button on the canvas — select multiple elements with a frame.
Publishing a Page
A published page becomes available to users instantly. Hosting is possible:
- On a Softbook subdomain (like your-school.lms.softbook.app).
- On the school’s own domain (if previously connected in the LMS settings).
Requests Processing
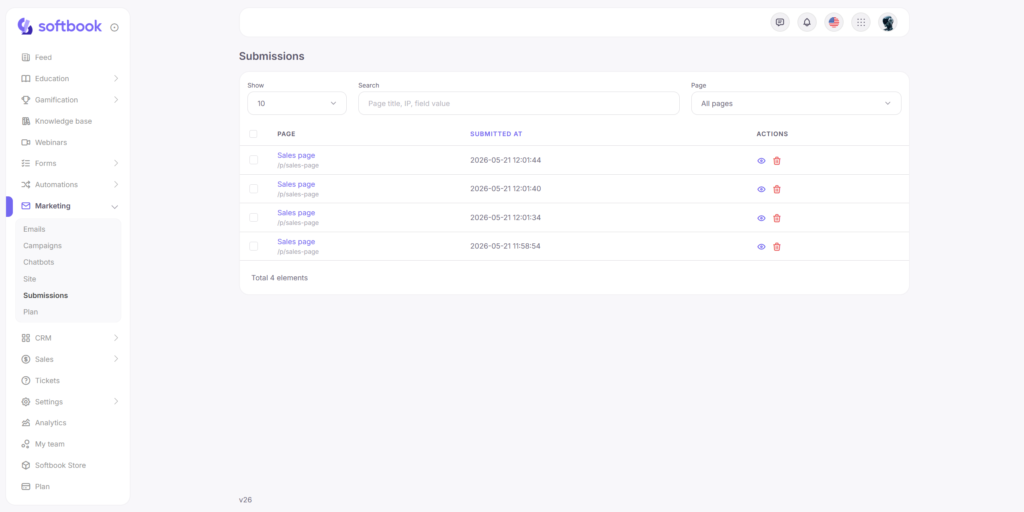
After a user submits a form:
- Data is sent to the Marketing → Requests section showing the source and UTM tags.
- The system can trigger configured automation processes: sending an email, adding to a course, or creating a task.
- Upon successful payment via the “Product form,” the client is automatically enrolled in the course and gains access to materials.
FAQ
- Using one form on different pages: Each created form is linked exclusively to its own page. To use a similar form, you need to duplicate the block or use a page template.
- Deleting a product linked to a form: If a product is removed from the LMS catalog, the payment form on the page stops functioning (the user will see a system error message).
- Using custom code (CSS/JS): Adding custom scripts is not supported for security reasons and to optimize page loading speed.
- Restoring previous page versions: To cancel actions inside the Soft Block editor, hotkeys (Ctrl+Z) are used. For the page as a whole, only the current version is saved after clicking the “Save” button (version history is not kept).


