

Overview
A dedicated section for creating a structured help center for your school. Here, you can publish manuals, answers to frequently asked questions (FAQs), and other text-based materials to help users find the necessary information more quickly.
How to enable the Knowledge base
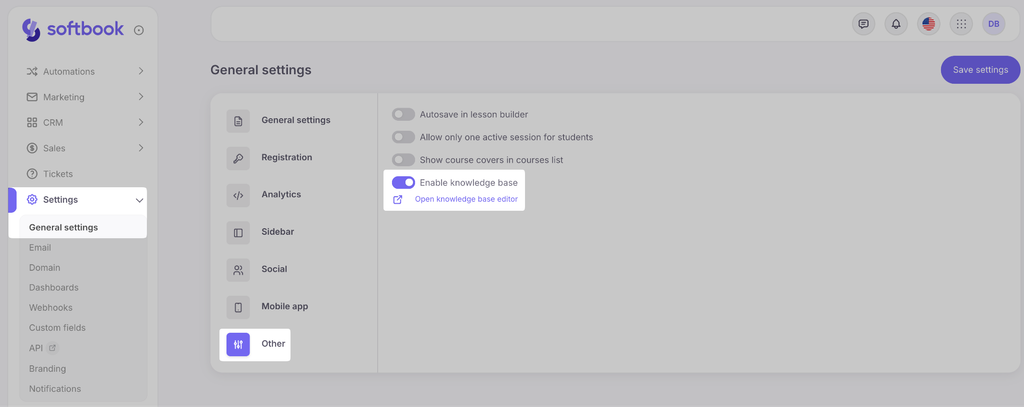
By default, this section is disabled. To activate it:
- Navigate to Settings → General settings → Other.
- Toggle the Enable knowledge base switch.
- Once activated, you can immediately start populating the section by clicking the newly appeared link Open knowledge base editor.
1. Main page and category creation
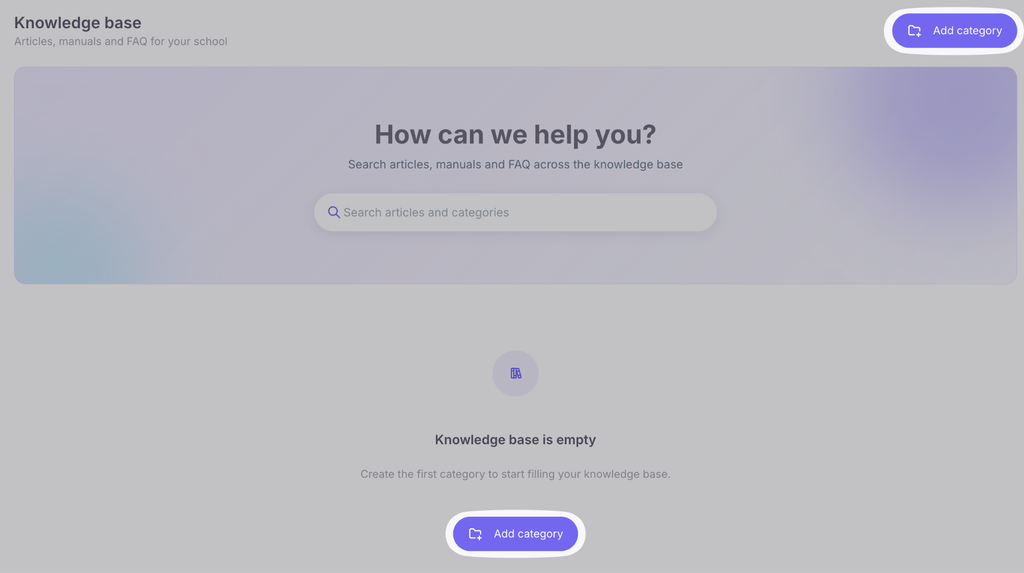
The main page of the Knowledge base welcomes users with a search bar to quickly locate articles and categories. If the base is currently empty, the system will prompt you to create the first category. To begin structuring your information:
- Click the Add category button.
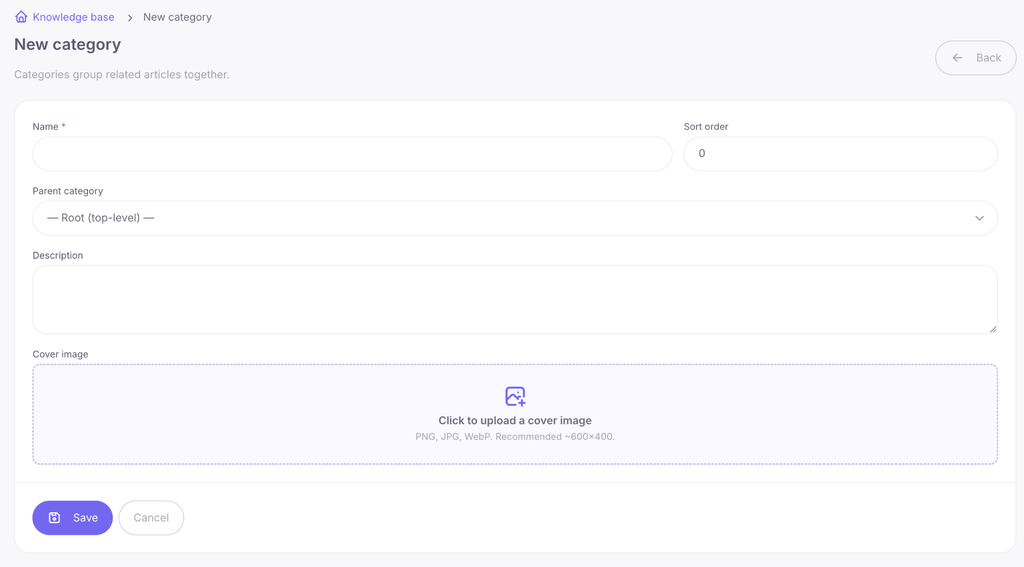
- In the form that opens, fill in the Name — this is a required field.
- If necessary, specify the Sort order to determine the category’s position in the list (the default is 0).
- In the Parent category field, select whether this will be a root category or nested within an existing one.
- Add a Description so users understand what the section is about.
- You can upload a visual Cover image (supported formats are PNG, JPG, WebP; recommended size is ~600×400).
- Click Save to apply the changes.
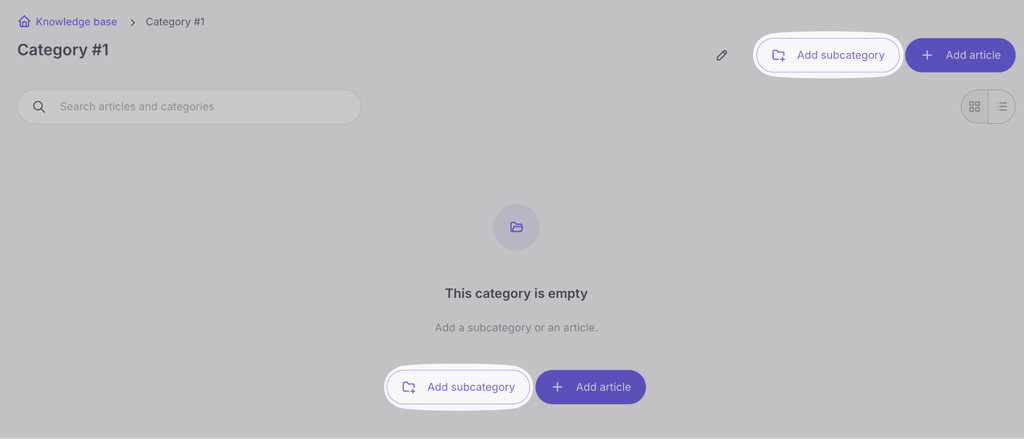
Within a created category, you can create an unlimited number of additional subcategories using the Add subcategory button.
2. Article creation and content
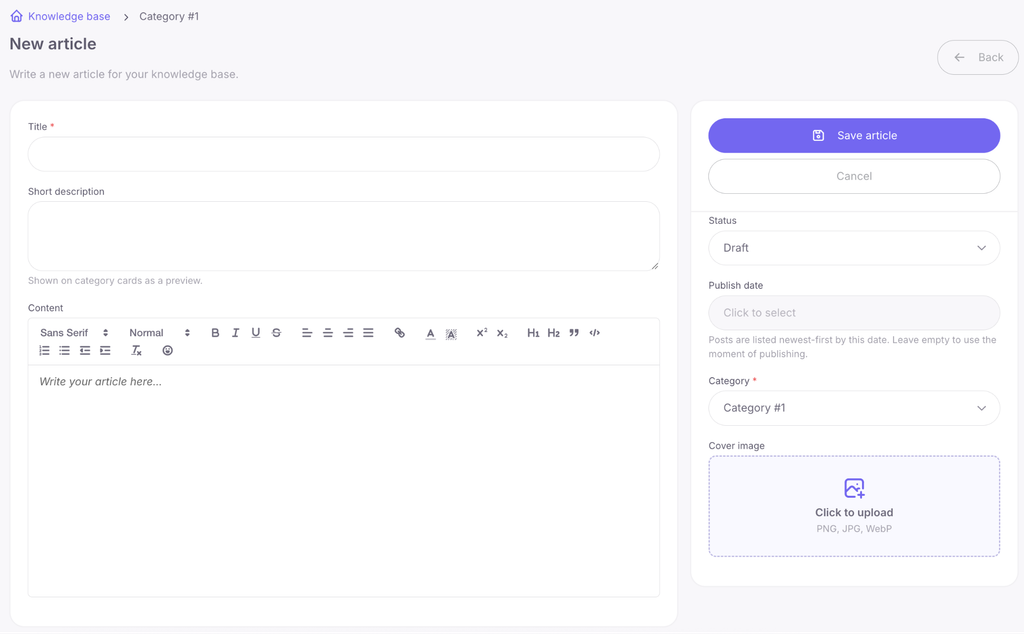
To add new material to the base, navigate to the desired category and click the Add article button. On the article creation page, fill in the primary information:
- Title: the mandatory name of your article.
- Short description: a brief text that will be displayed on category cards as a preview.
- Content (article text): a built-in text editor for writing your material. The editor supports text formatting, adding lists, headings, and links (uploading video or audio is not supported).
3. Publication settings
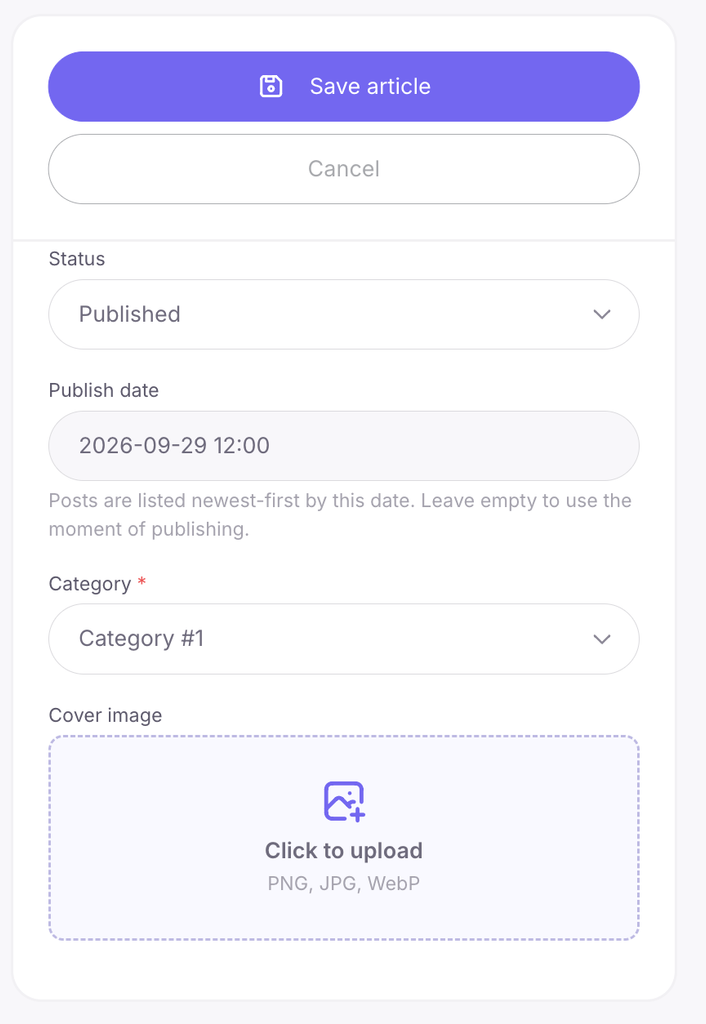
On the panel to the right of the editor, you will find publication management settings:
- Status: you can save the article as a draft or publish it immediately.
- Publish date: if this field is left blank, the date will be set automatically at the moment of publication.
- Category: here you can change the article’s assignment to a specific section.
- Cover image: the option to upload a custom image for the article. Once you have finished configuring the settings, click the Save article button.
4. Display and interaction
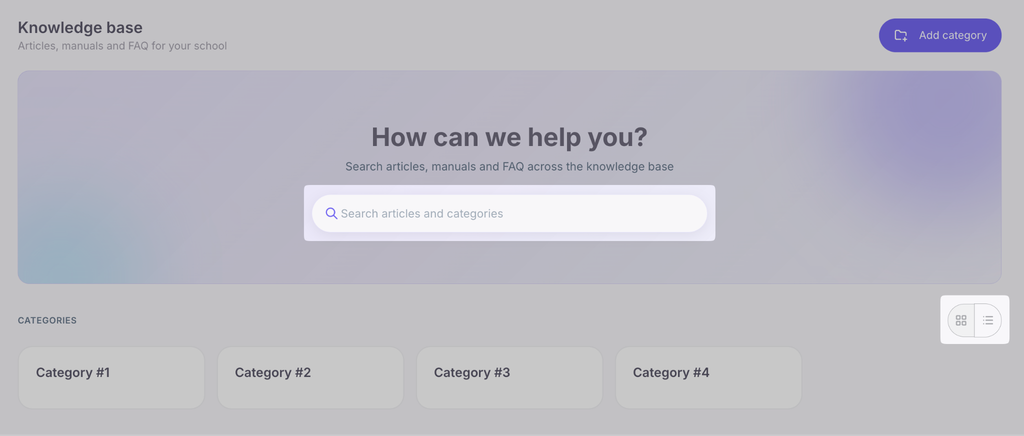
The category page displays a list of added articles, the layout of which can be toggled using the icons in the top right corner (list or grid view). A search bar is also available there for navigating within the section.
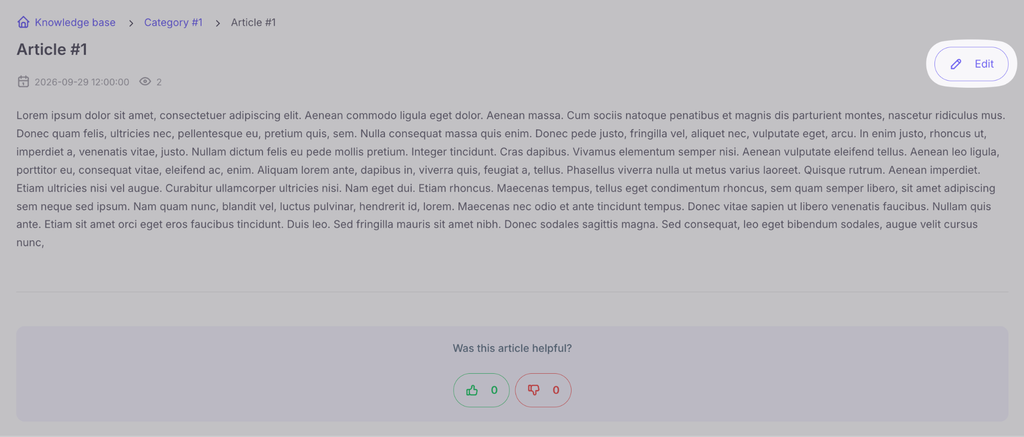
If an article needs to be updated or corrected, an administrator can do so at any time by clicking the Edit button in the top right corner.



 Book a demo call right now!